“Each egg is a little universe, an Orphic egg, and everything contained within it is arrived at through the use of Sacred Geometry. The practice of making an egg reminds us of who we are, and how our actions relate to the universe around us. Certain rules are followed: what is above, so it is below; always complete a section (or action) before beginning the next. You will have less confusion, and therefore fewer mistakes. Perfect yourself before you try to perfect an egg – the rest will follow. Project every line, and know that your thoughts are projected in the same way. Do not keep your eyes on the kistka as you draw a line. When you set the kistka down, look forward and push the tool to that spot. The results will always be better. Likewise, we should always look forward in our lives, trying to determine the outcome of our actions. ” –Deirdre LeBlanc
I always enjoyed dying Easter eggs with my German grandmother. It was a yearly tradition. When I was 18 I enrolled in a Pysanky class at the local community college. Interestingly, that was the same year I took a basket weaving and bellydancing class. As if I knew what life had in store for me.
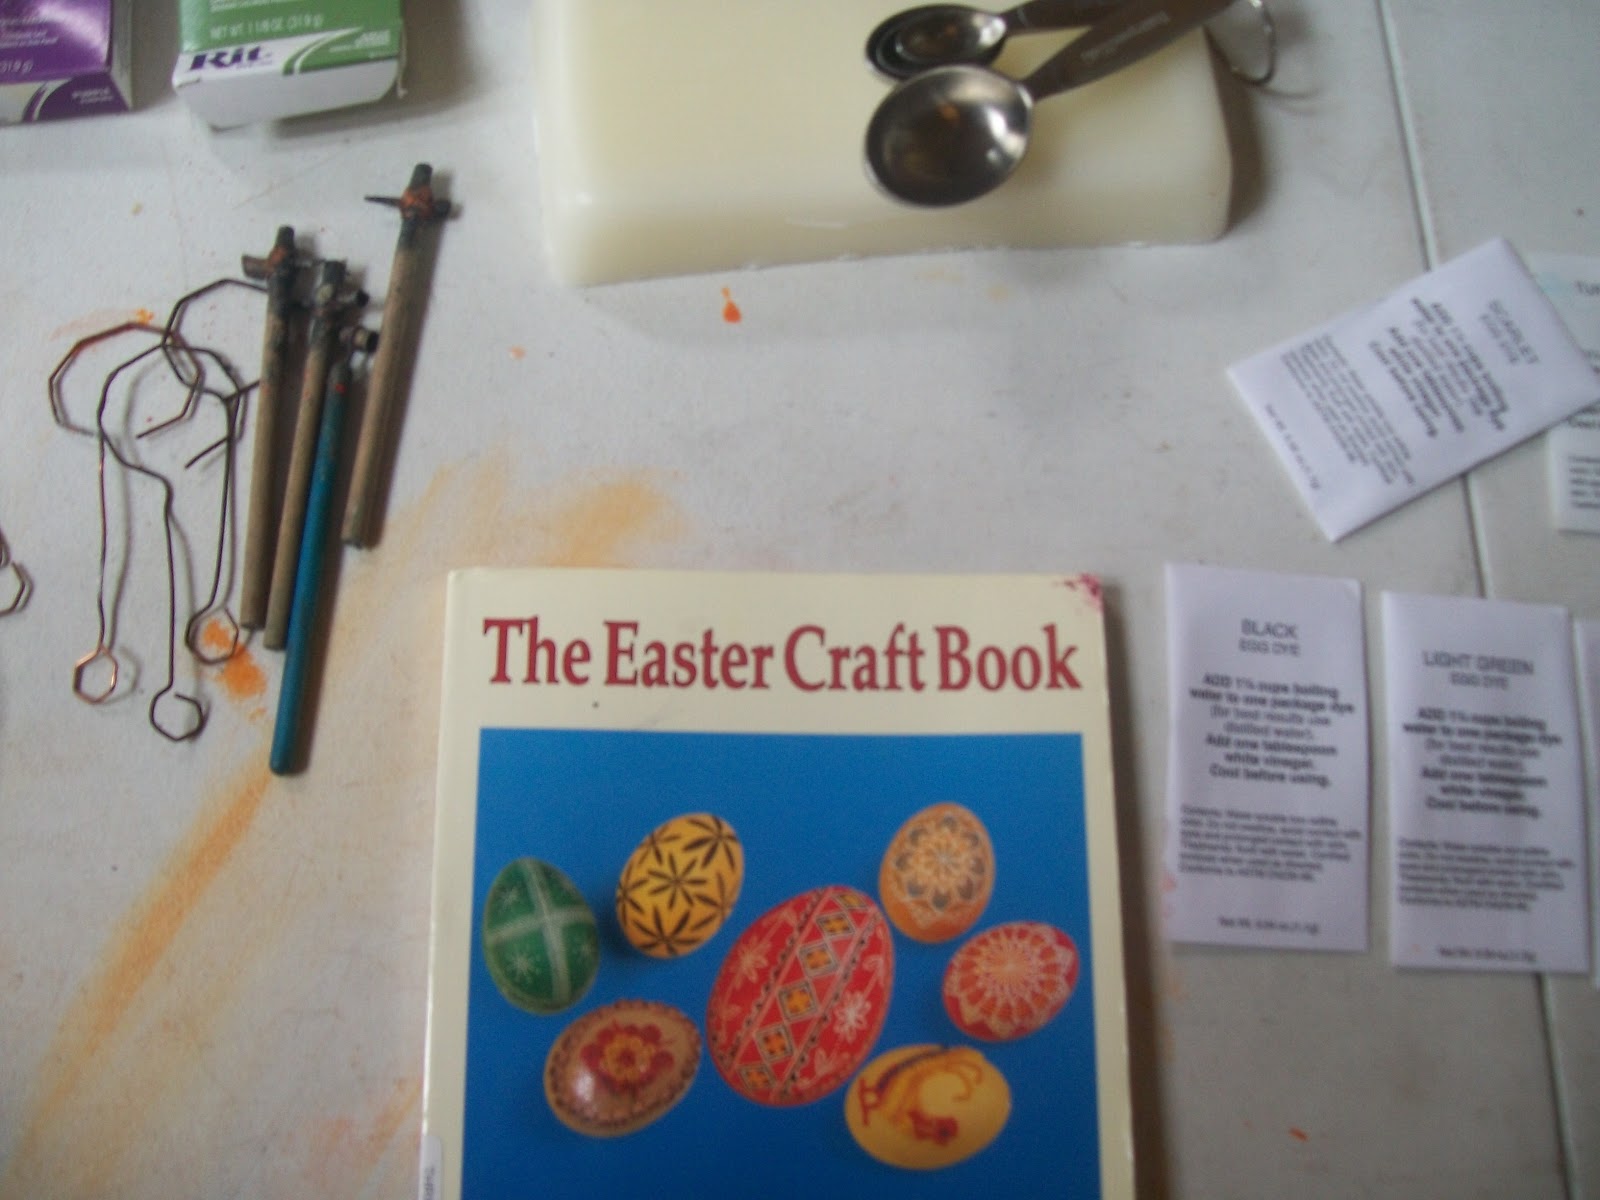
To make Pysanky, or Ukrainian eggs as they are sometimes called, you need some basic tools and household supplies. Every March I set up a work table.
Supplies:
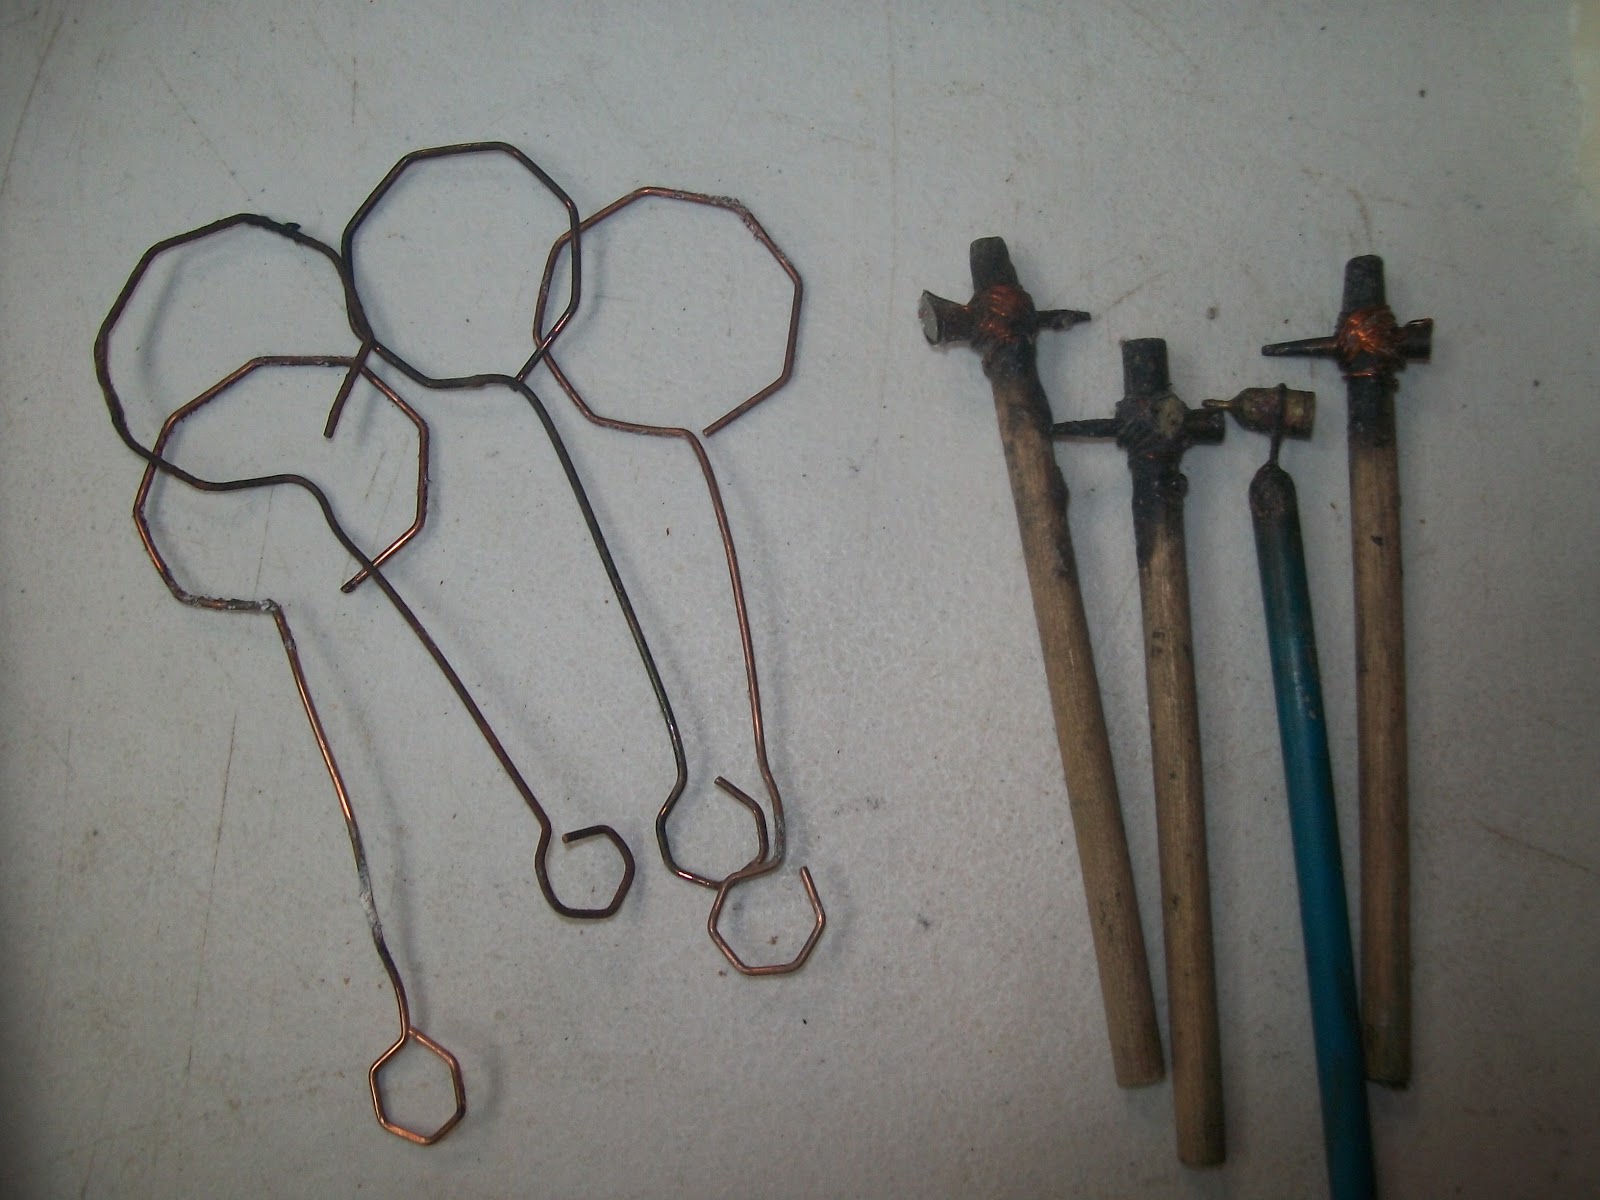
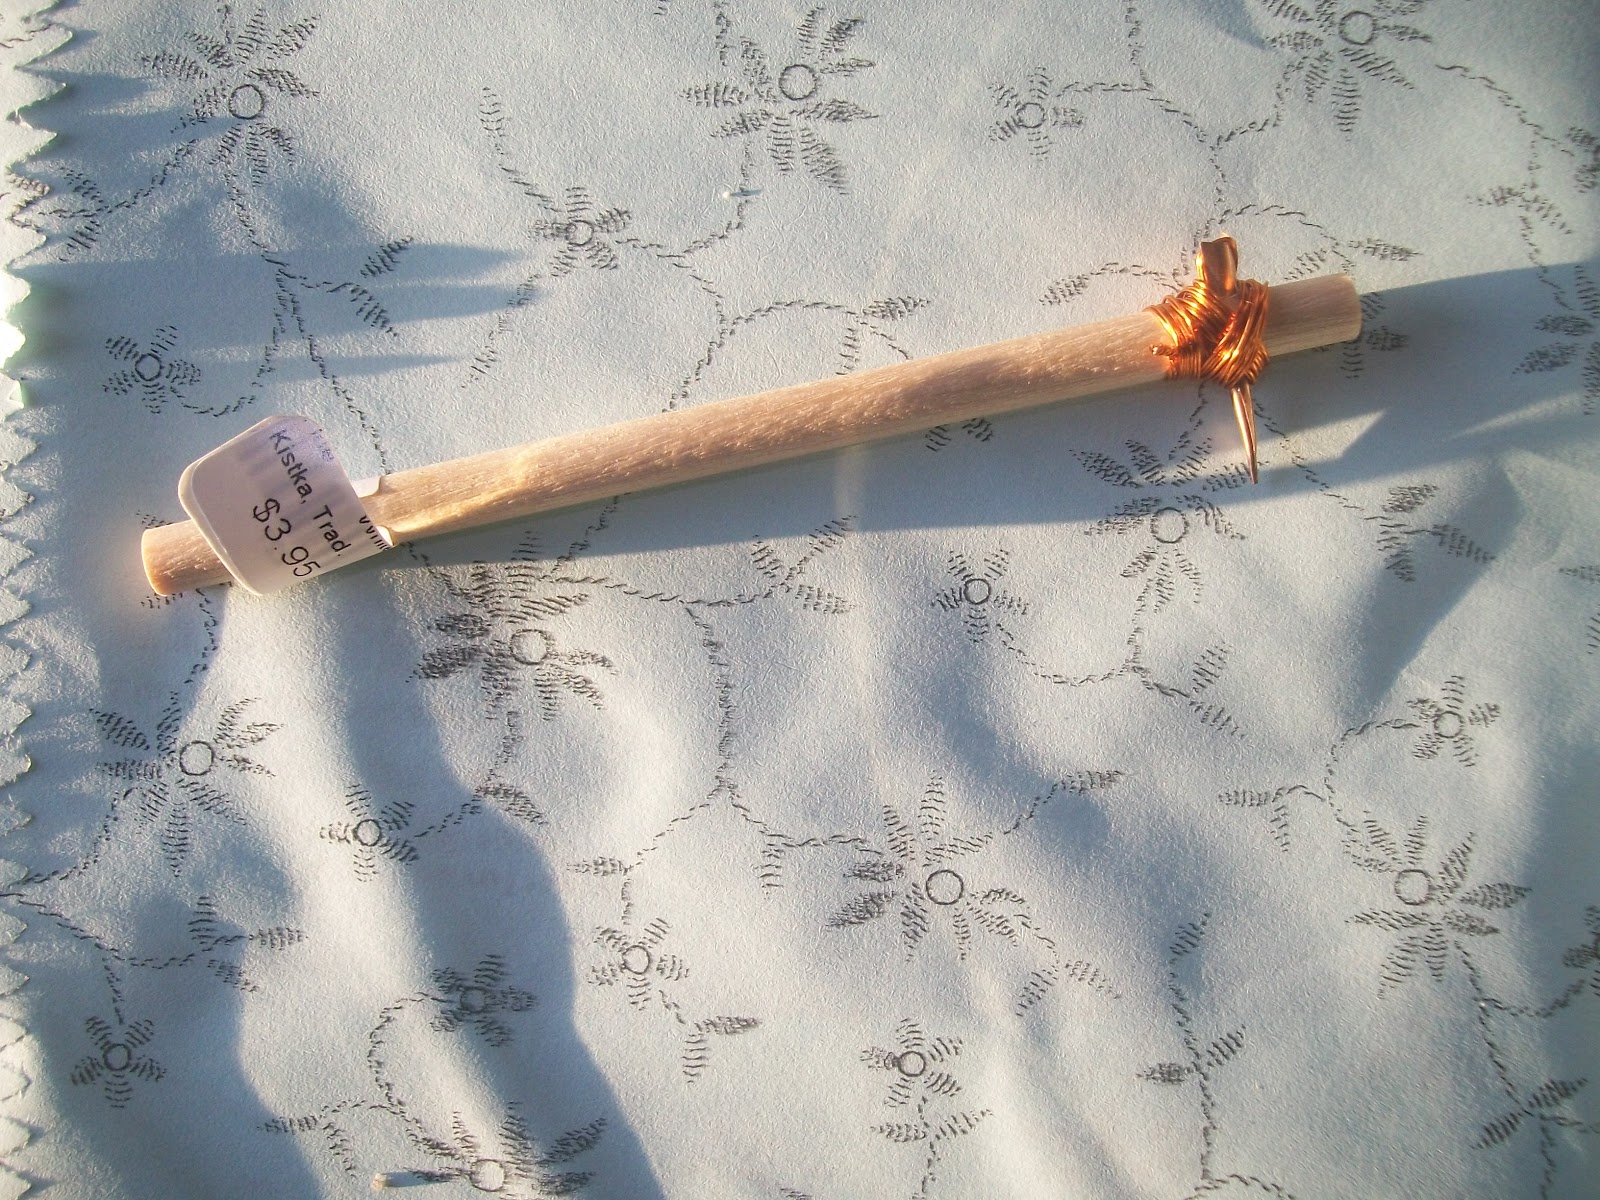
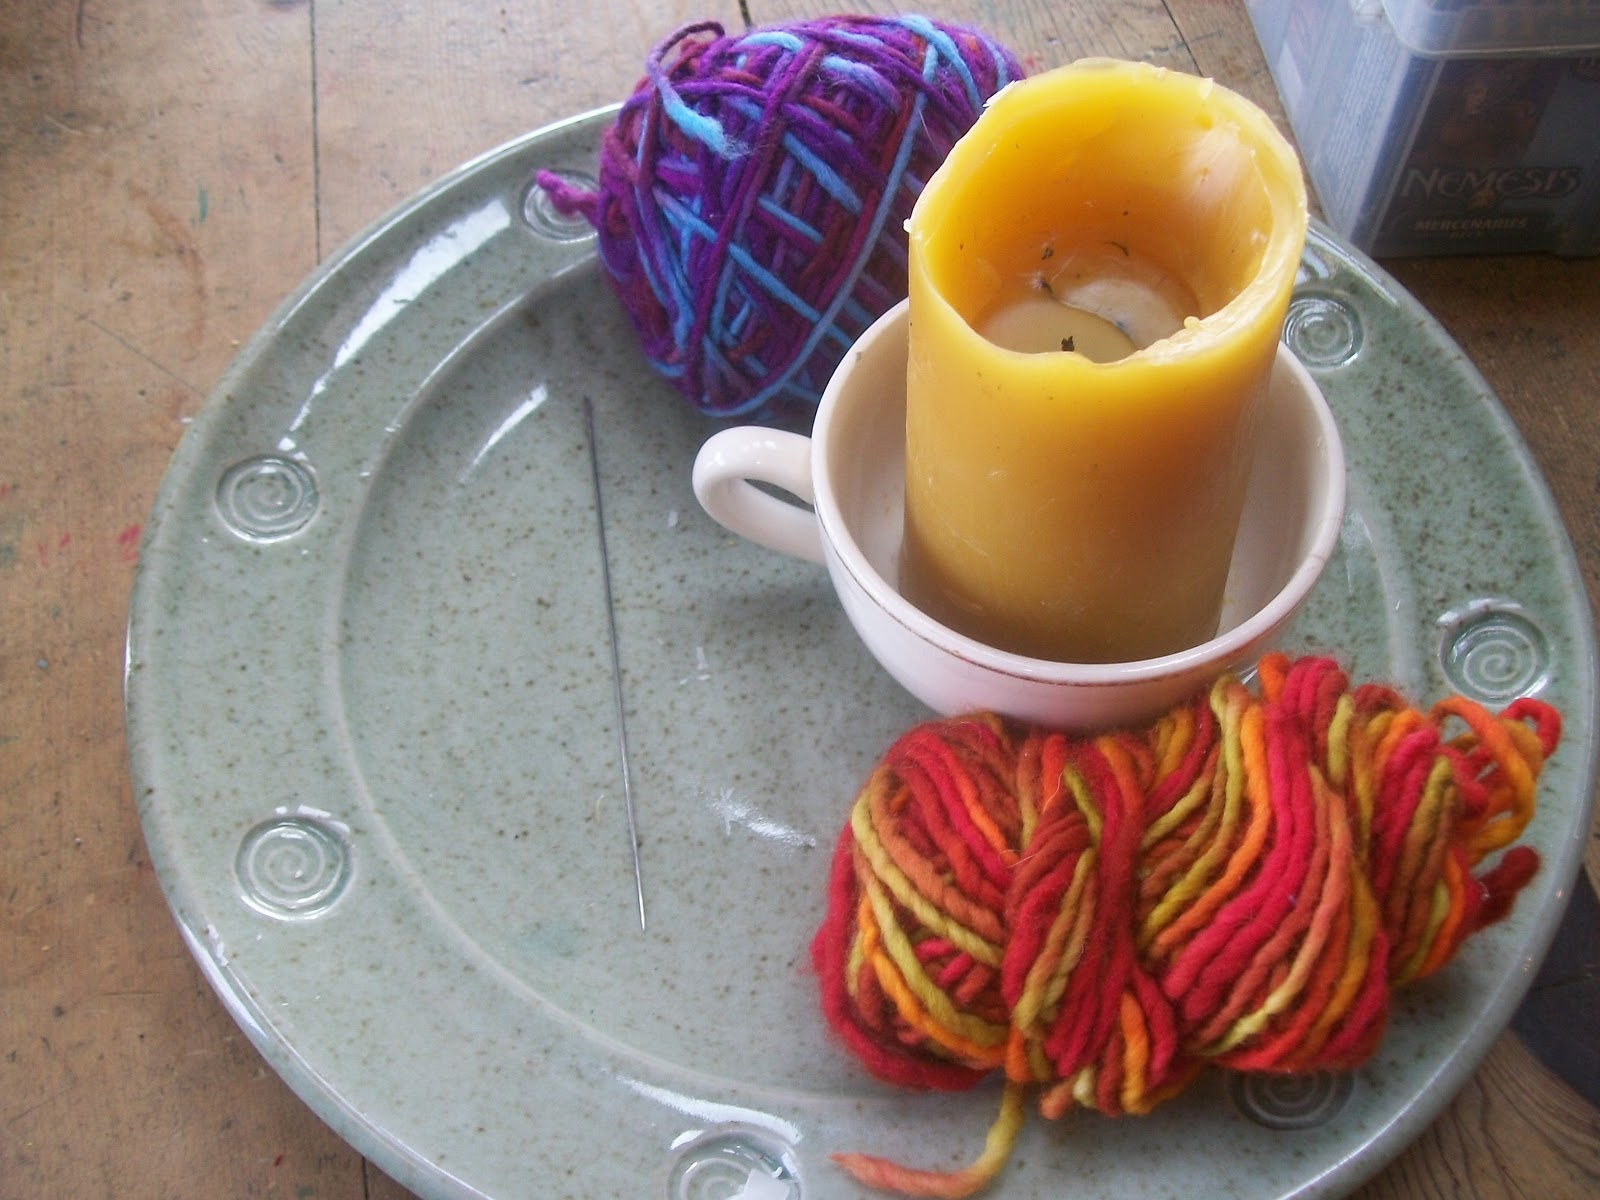
kistkas (kistka means “little bone” because they were originally made out of bones – over three thousand years ago!)
beeswax
candles
rags
matches
eggs
Mix your dyes: Follow the directions for making your dye baths, written on the powdered dye packages. Mine needed 1 1/4 cup water and some vinegar added. I used dye ordered from Magic Cabin Dolls; you can also use RIT in a pinch, but it totally pales in comparison.
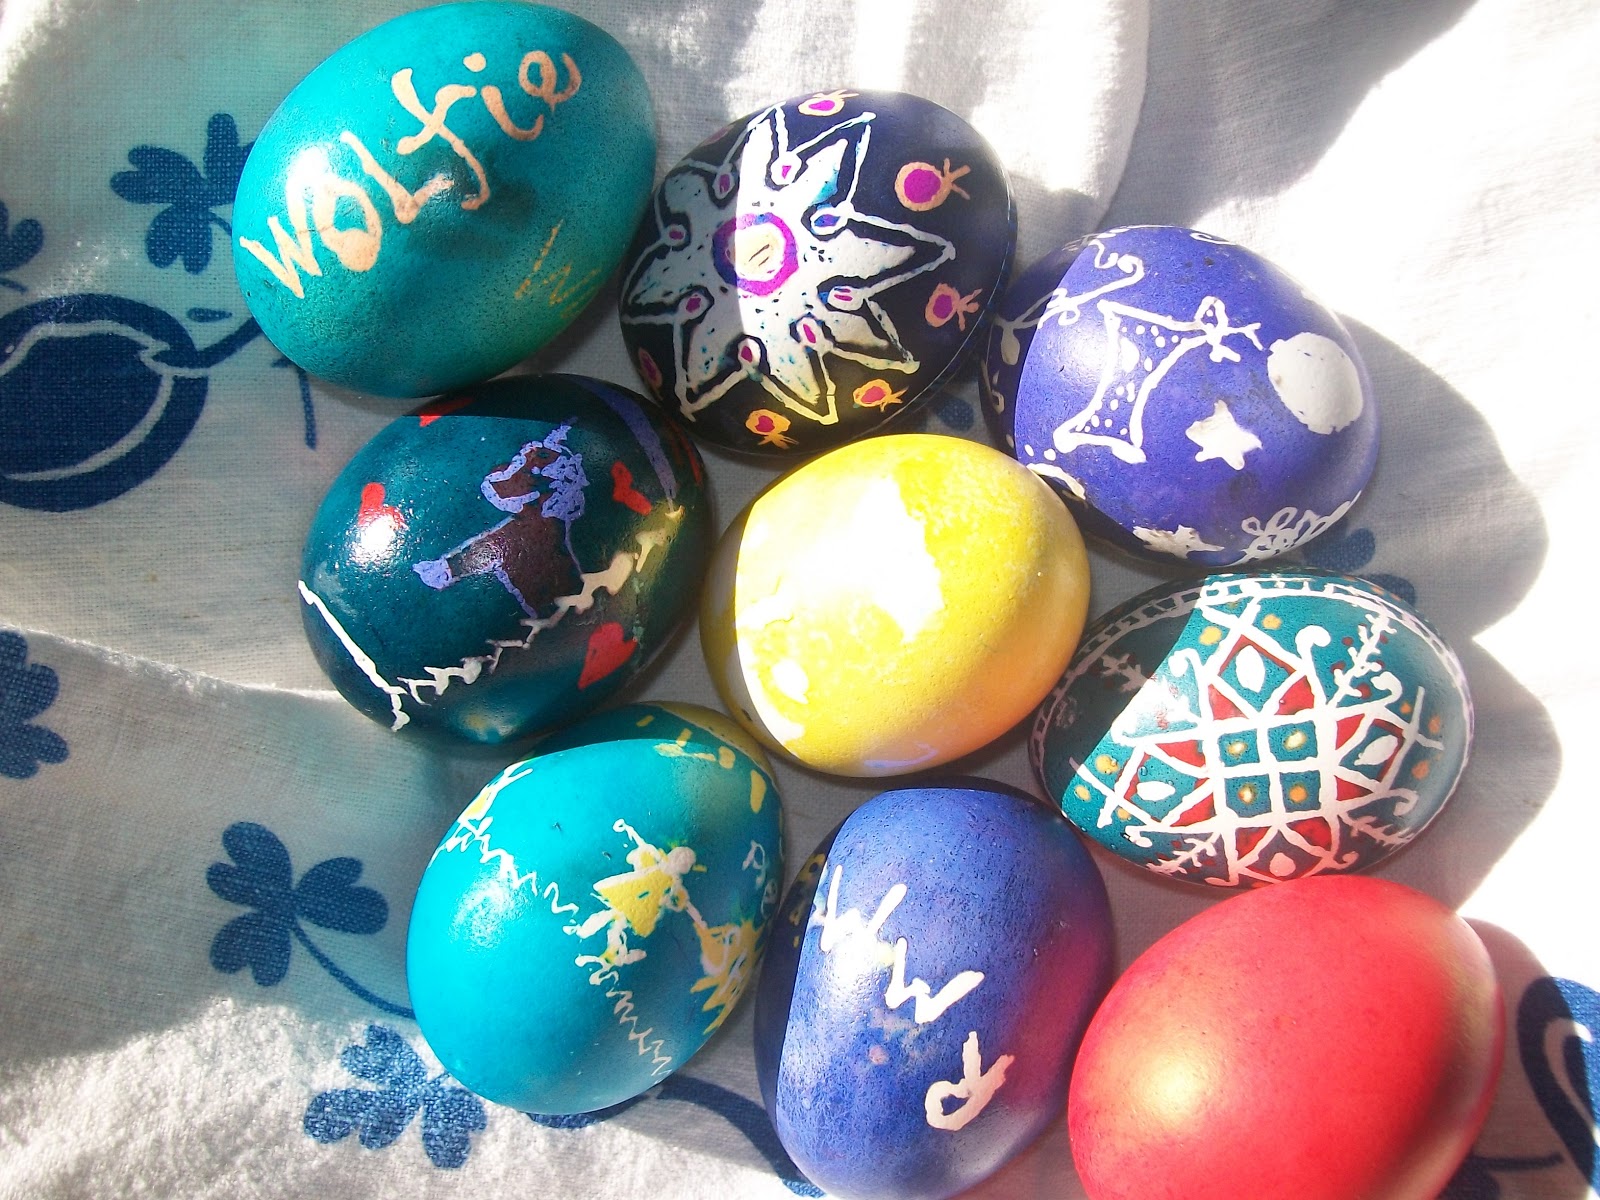
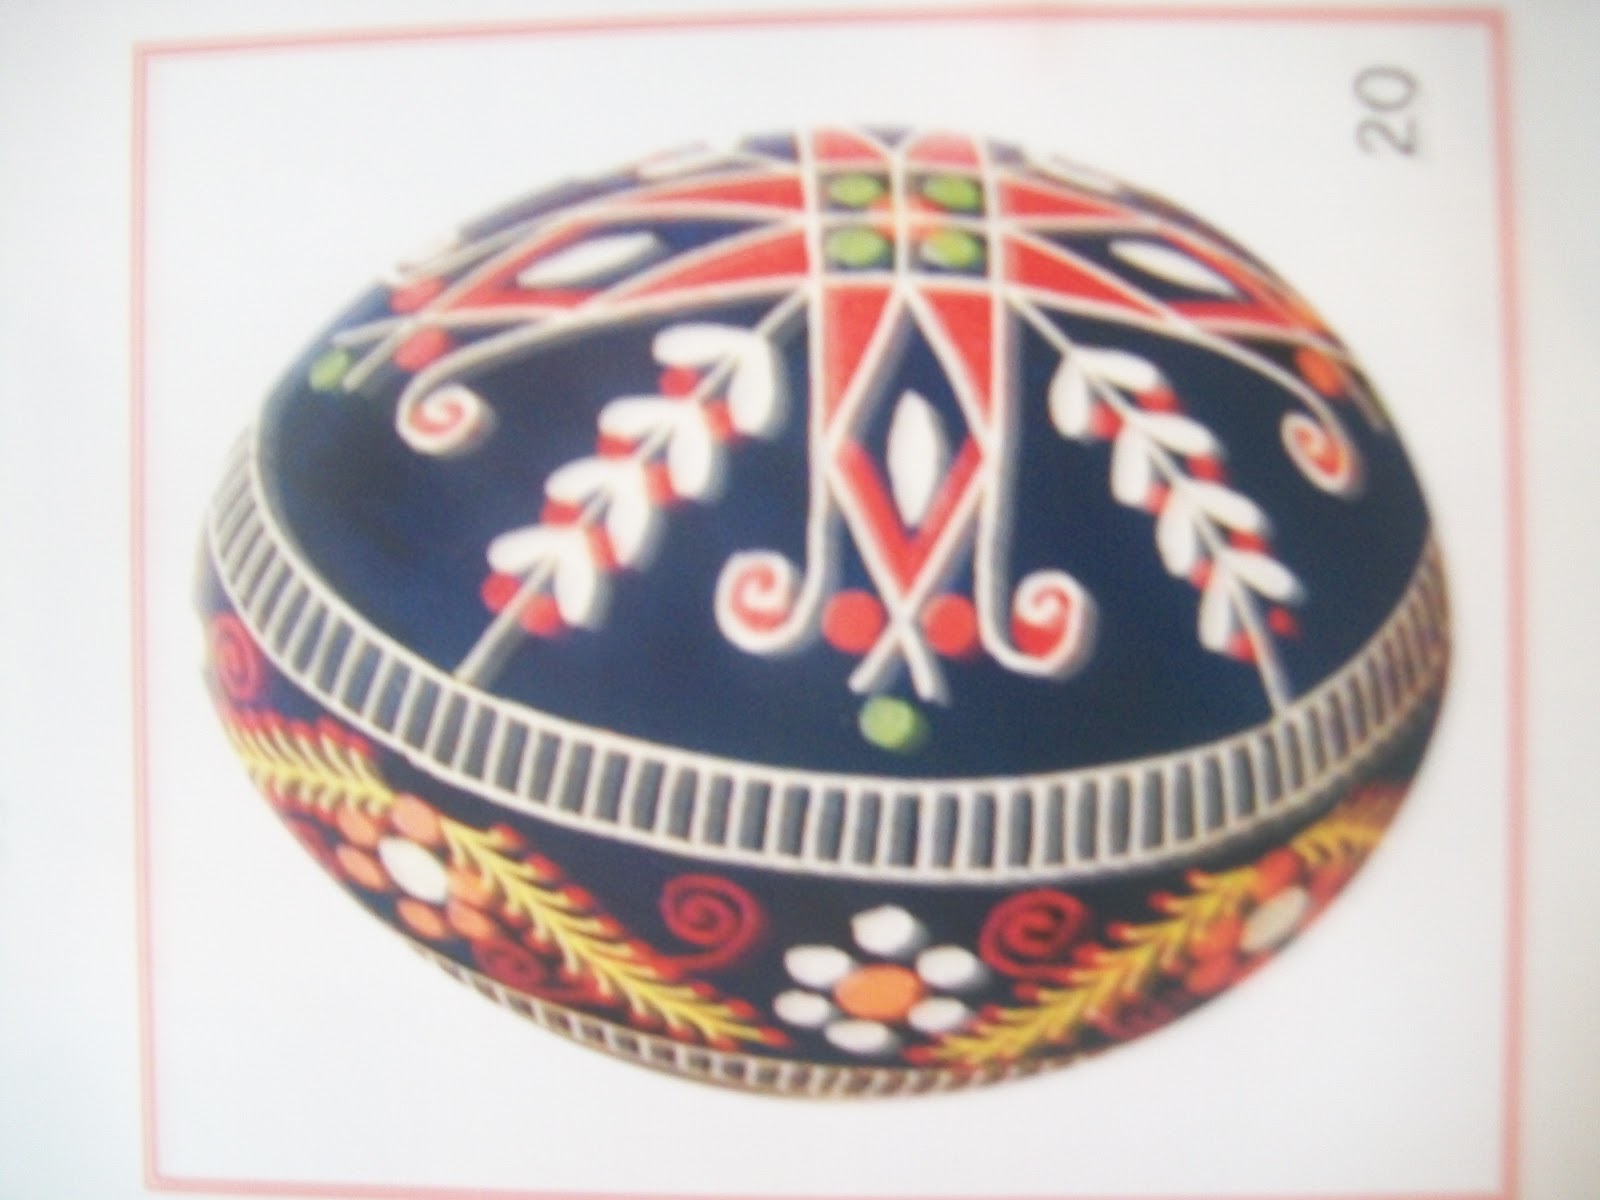
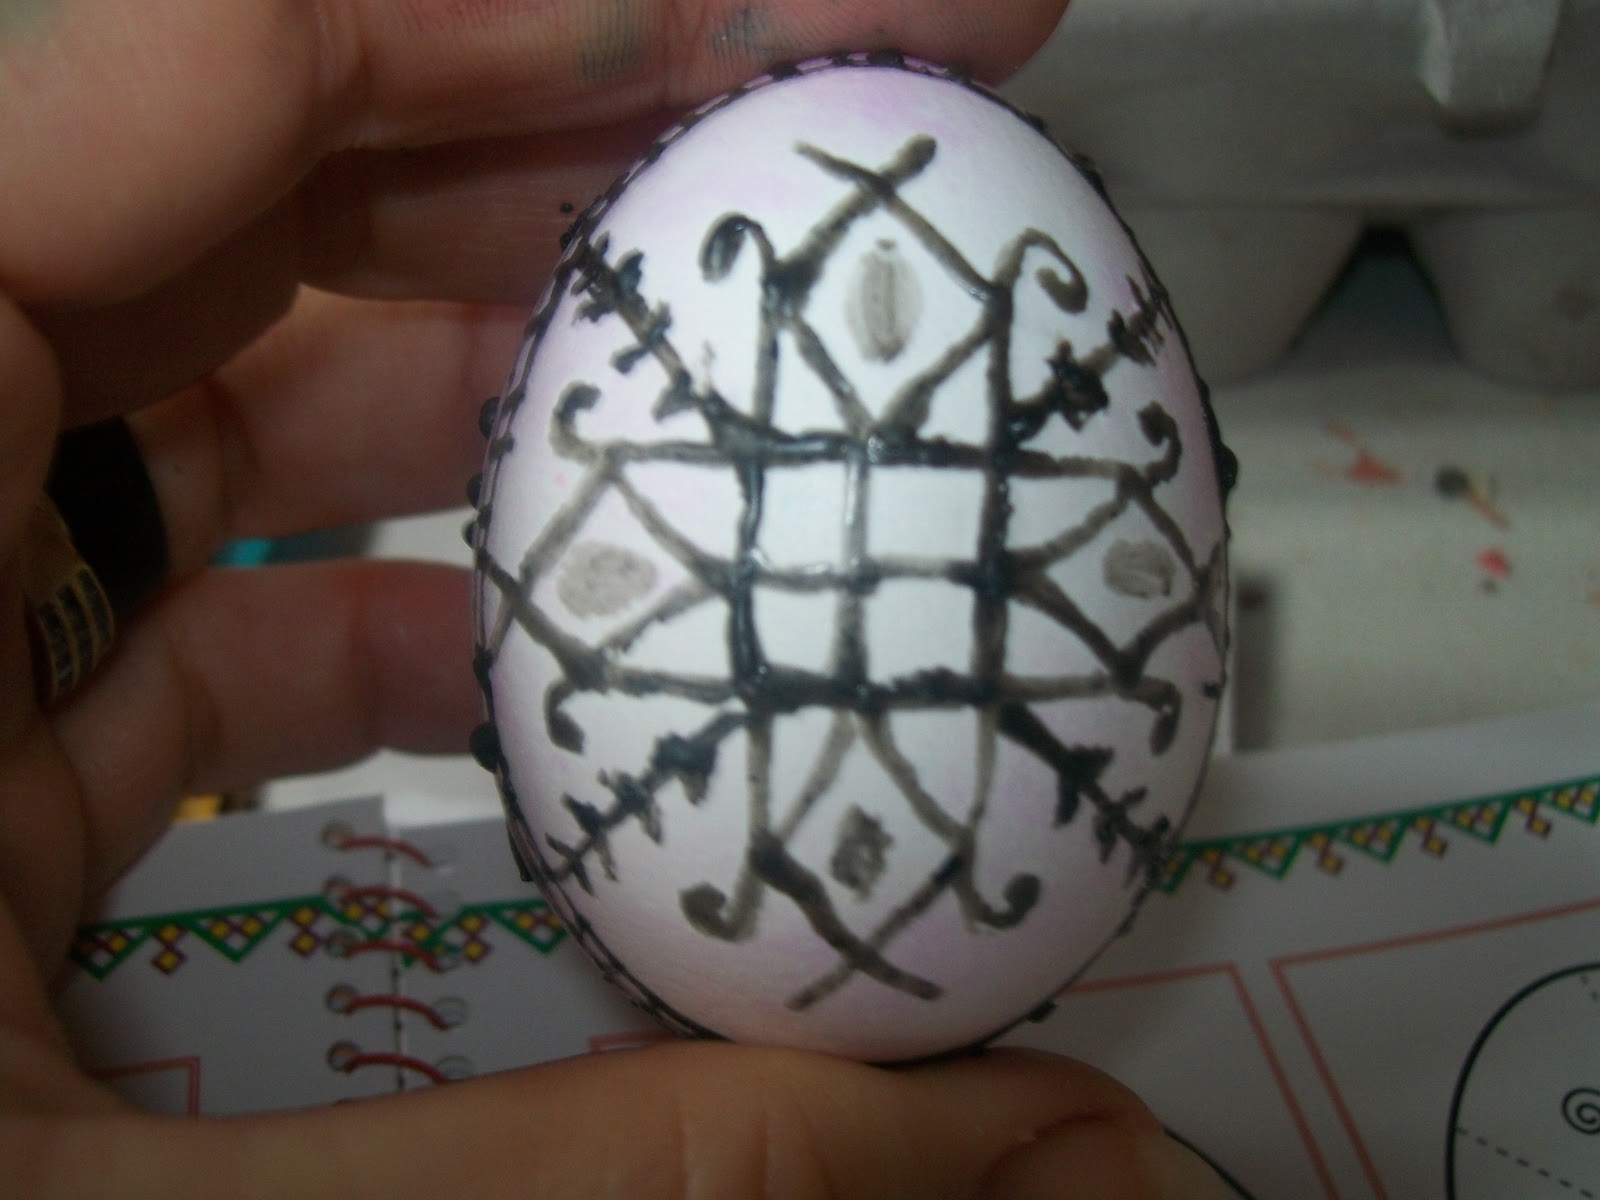
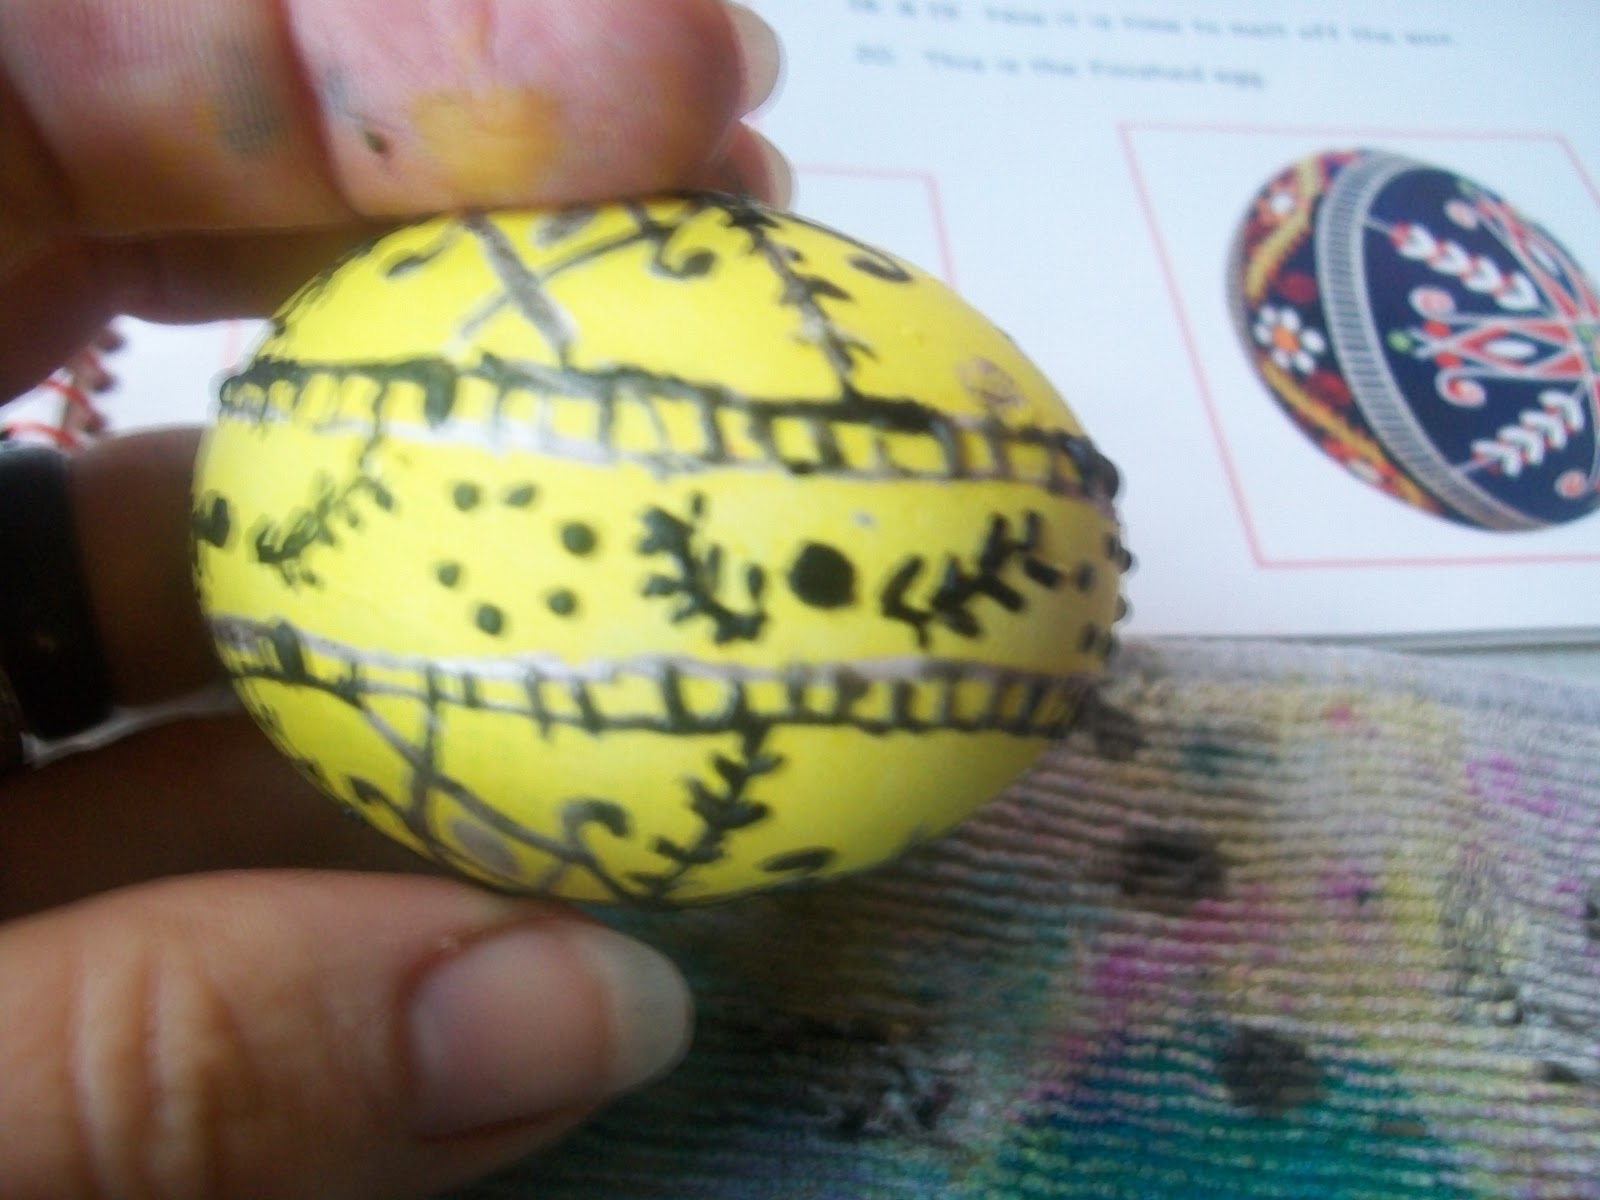
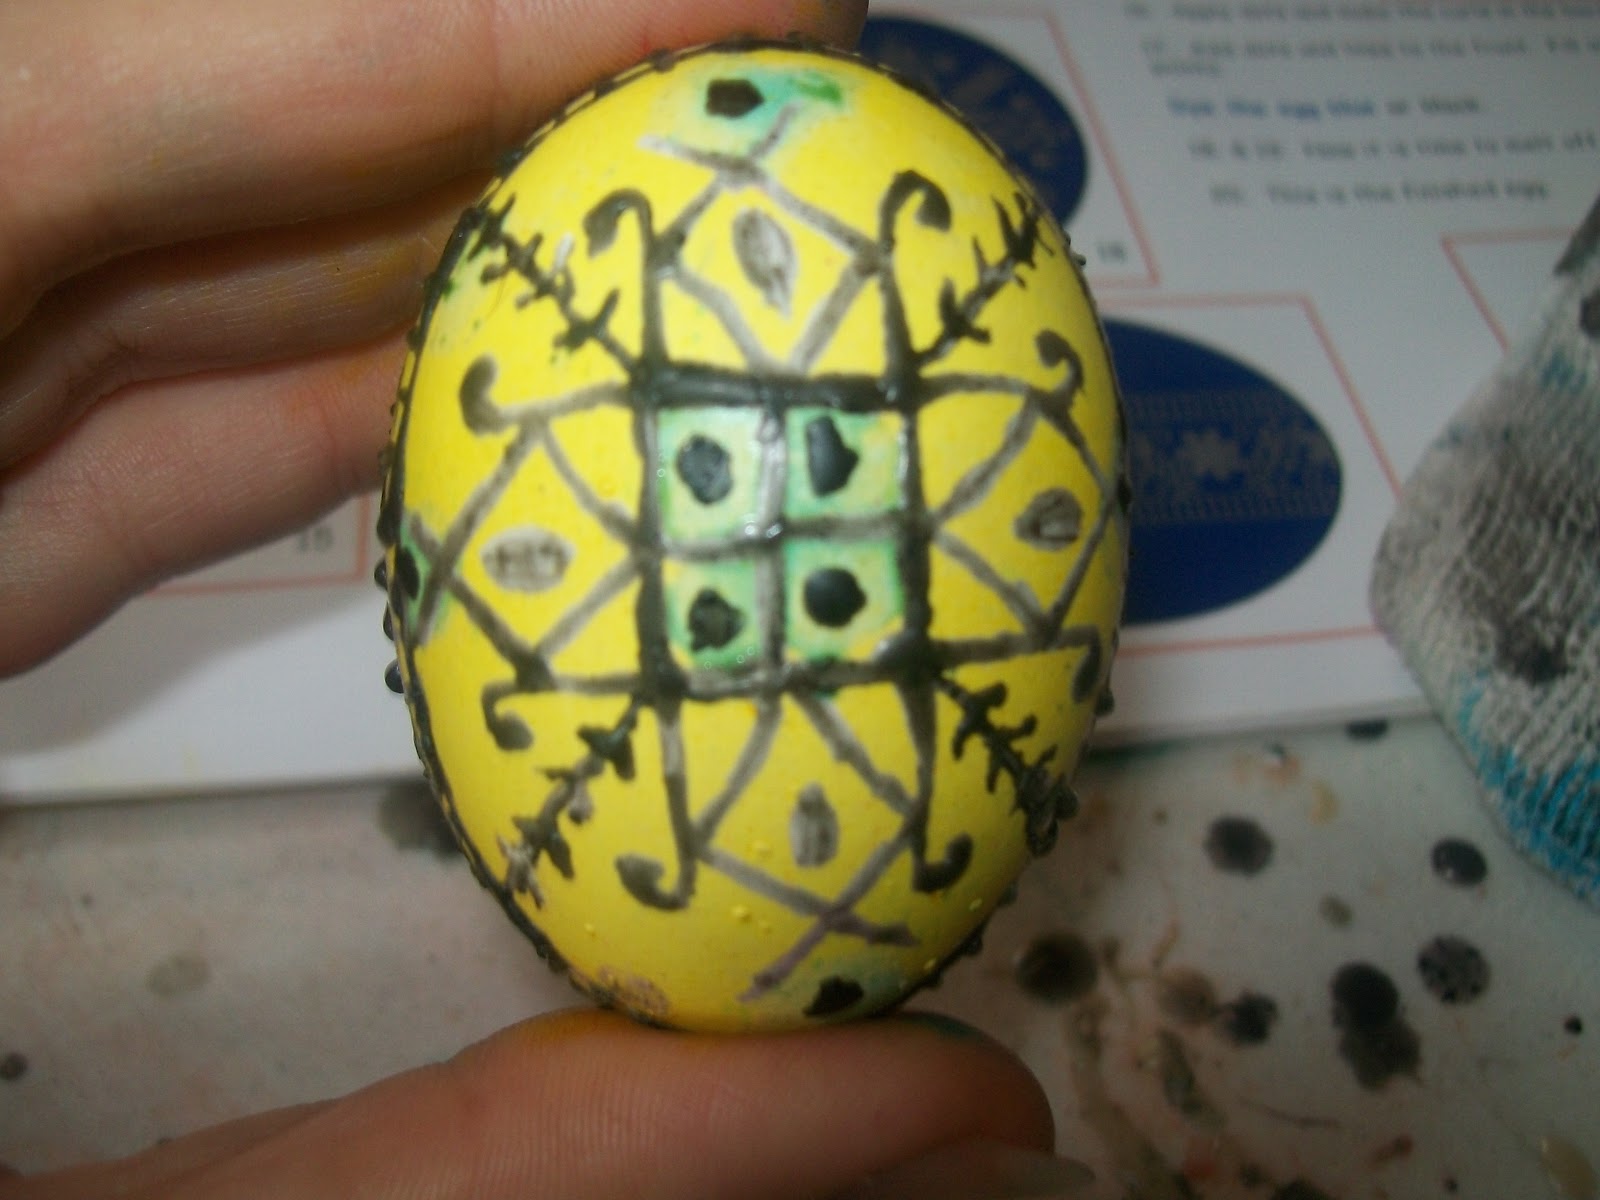
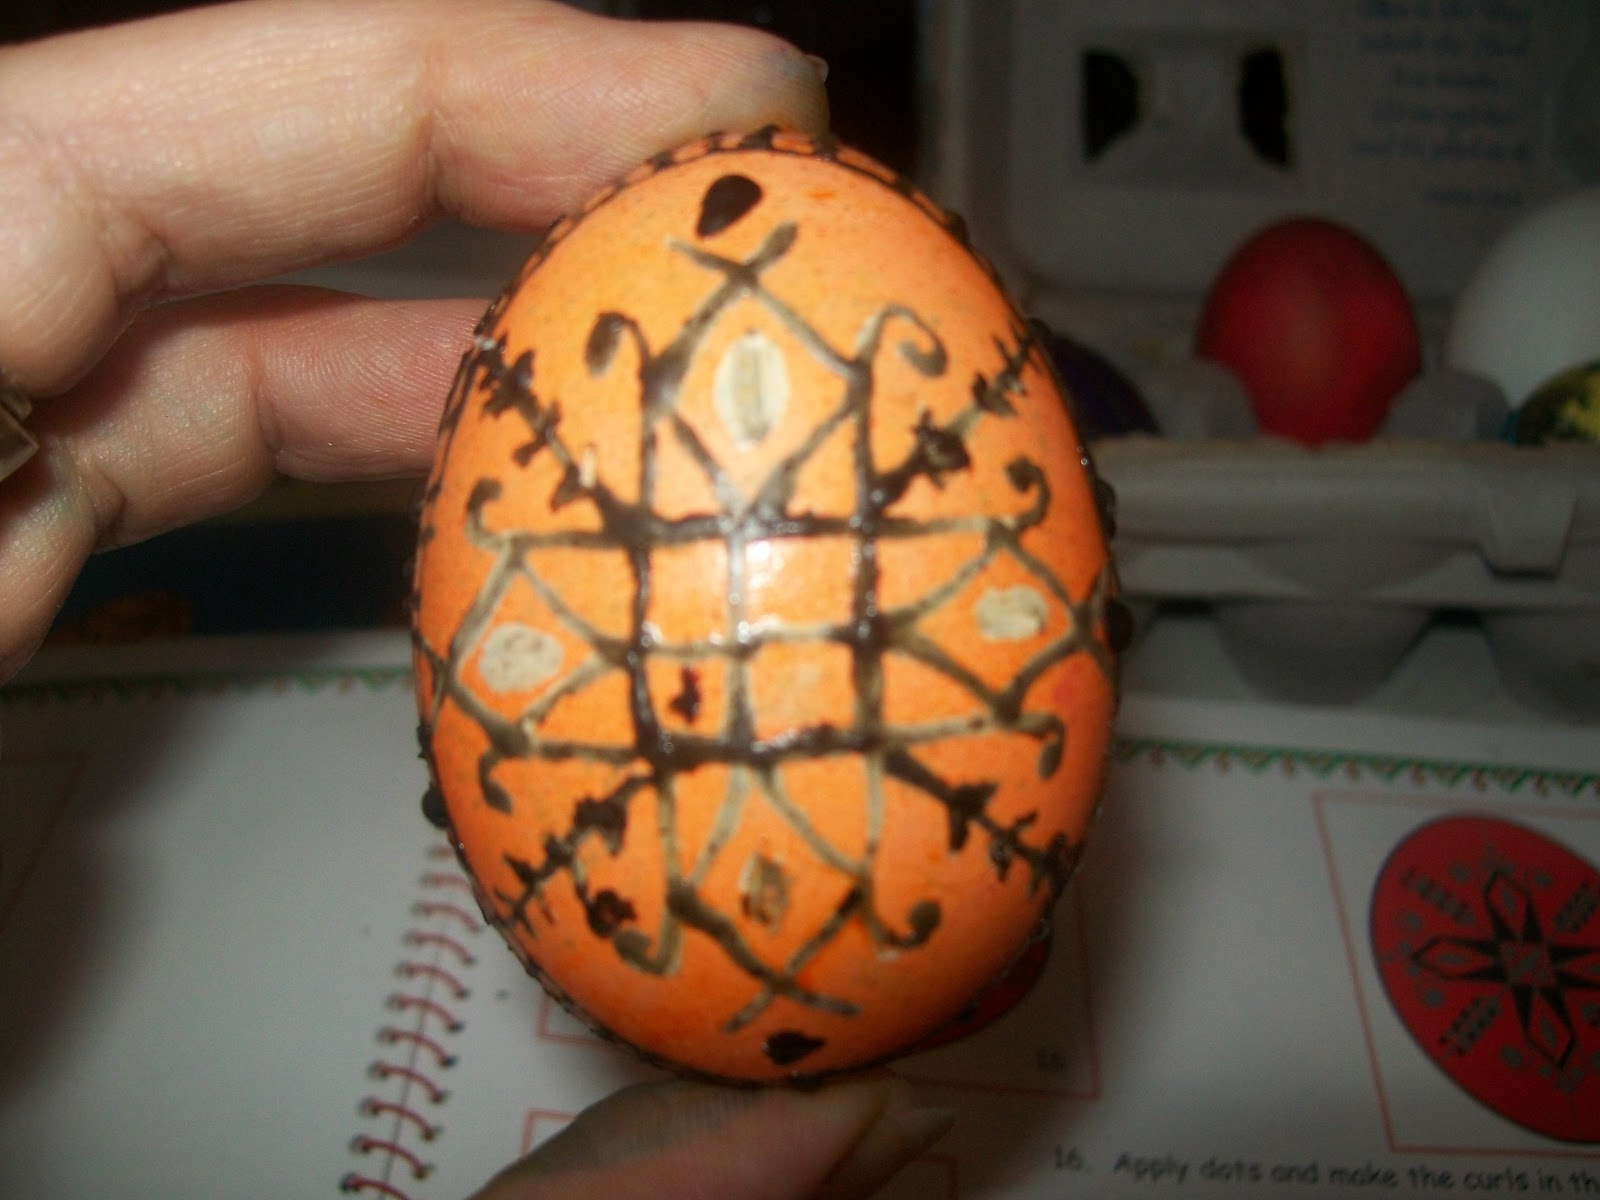
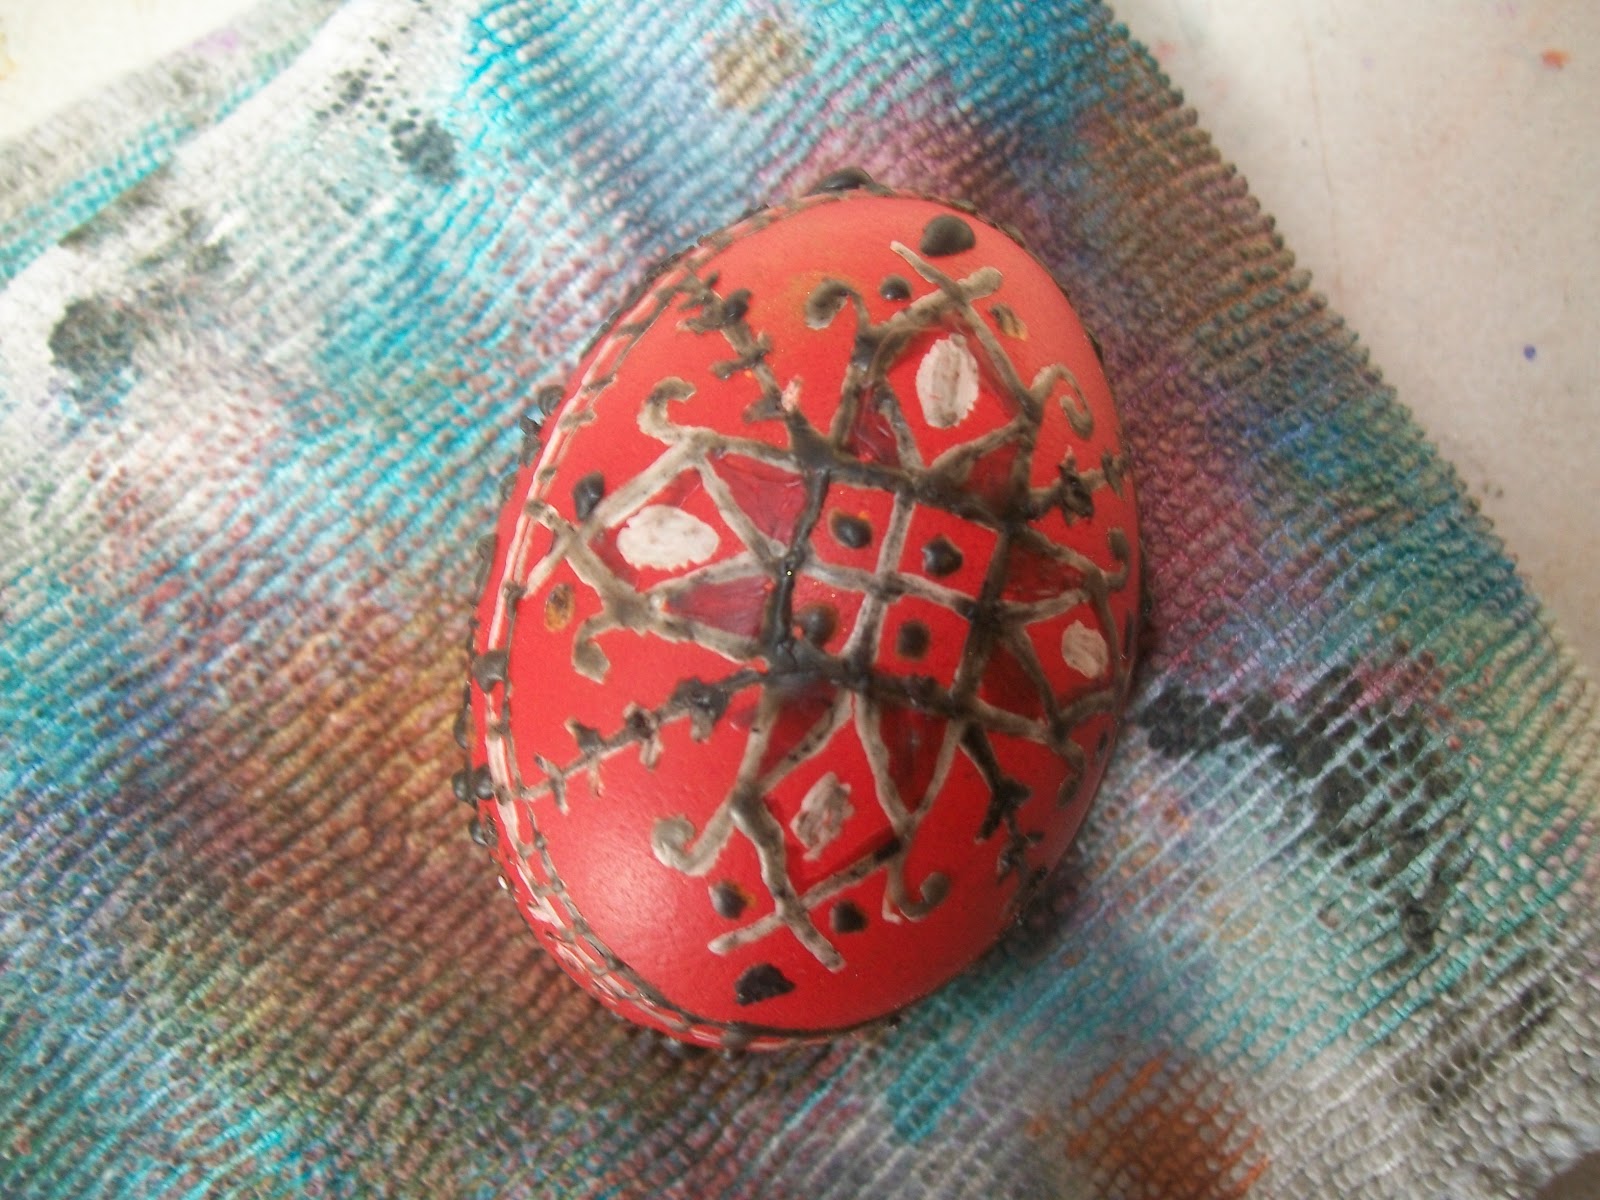
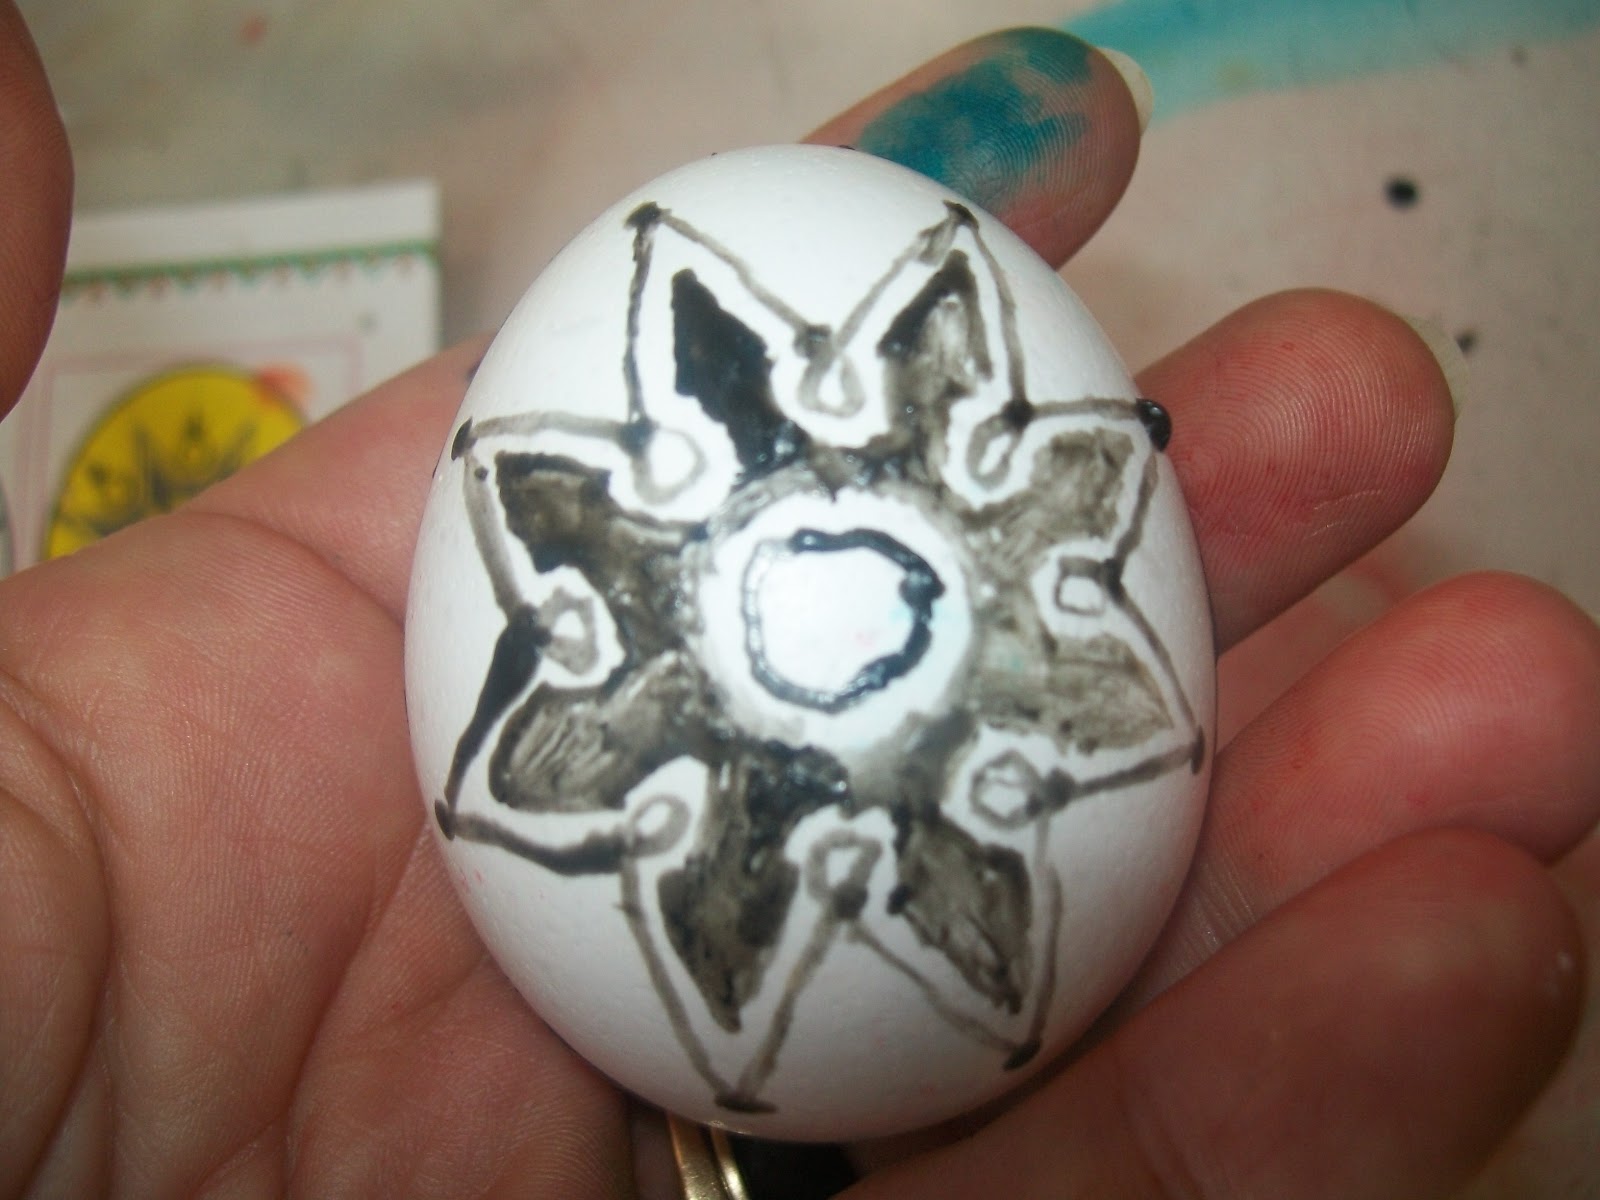
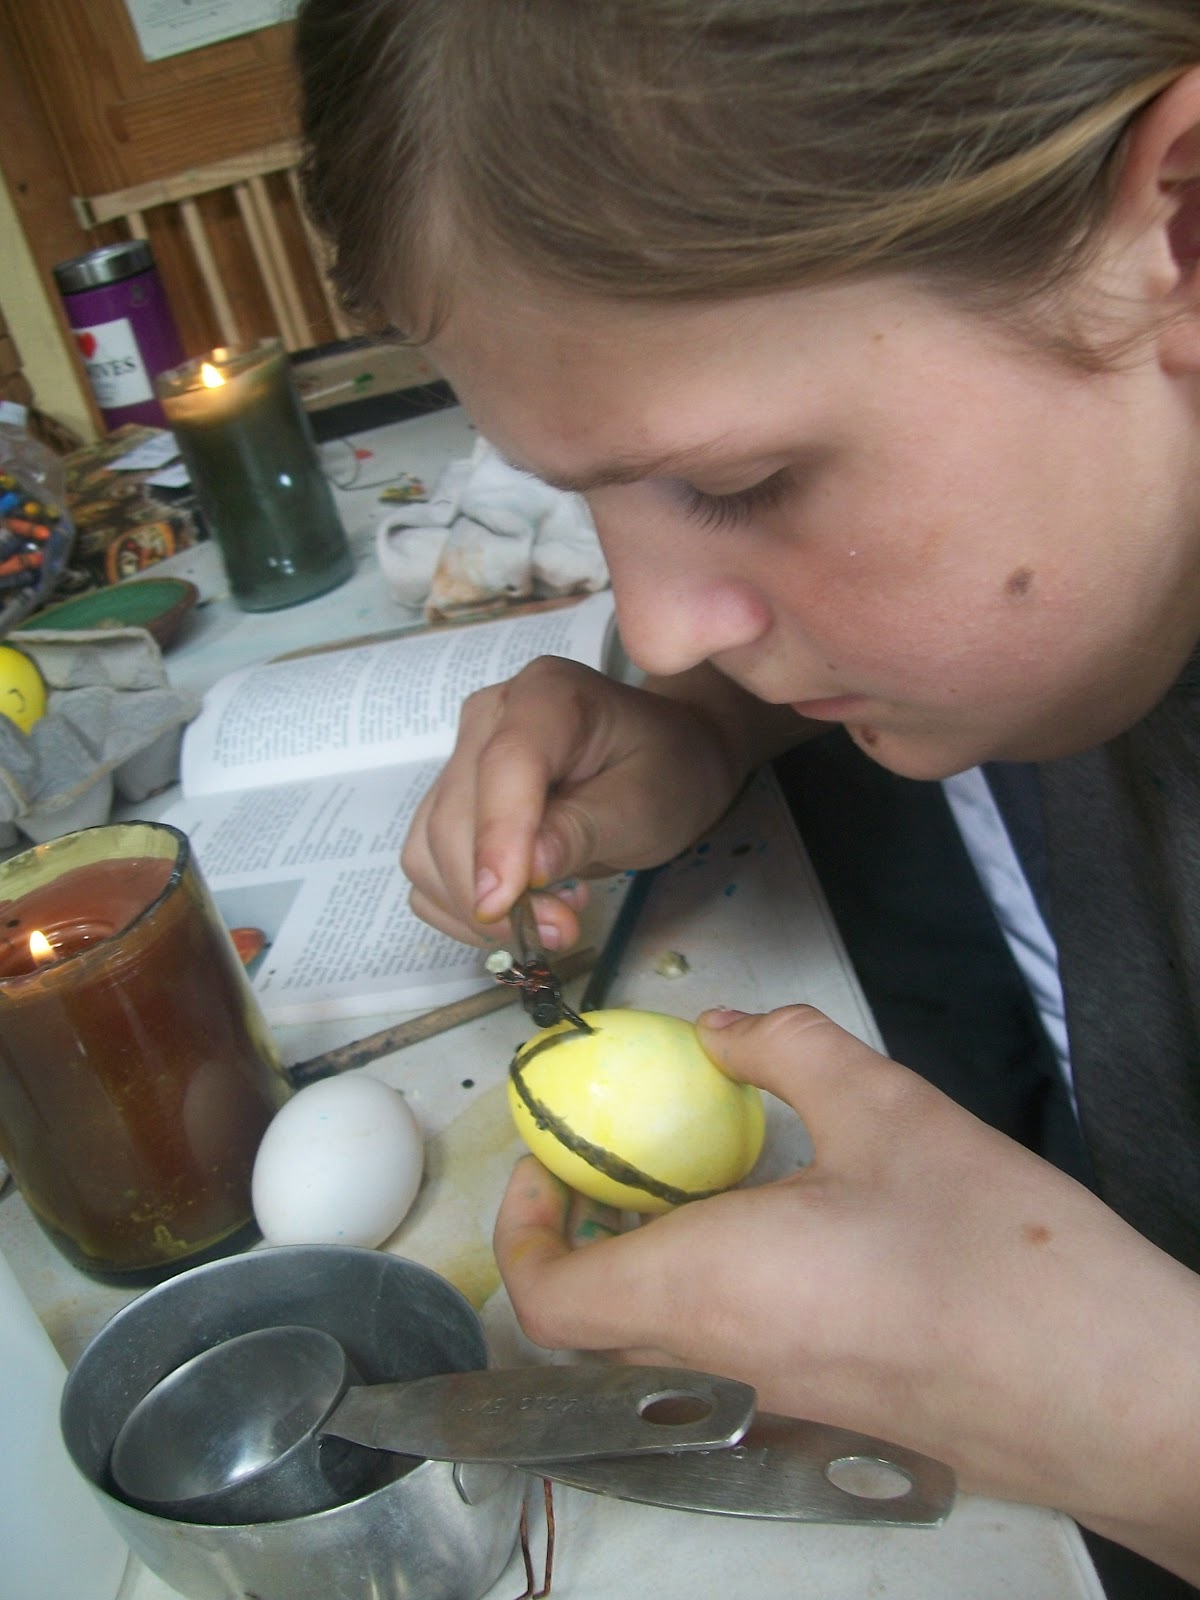
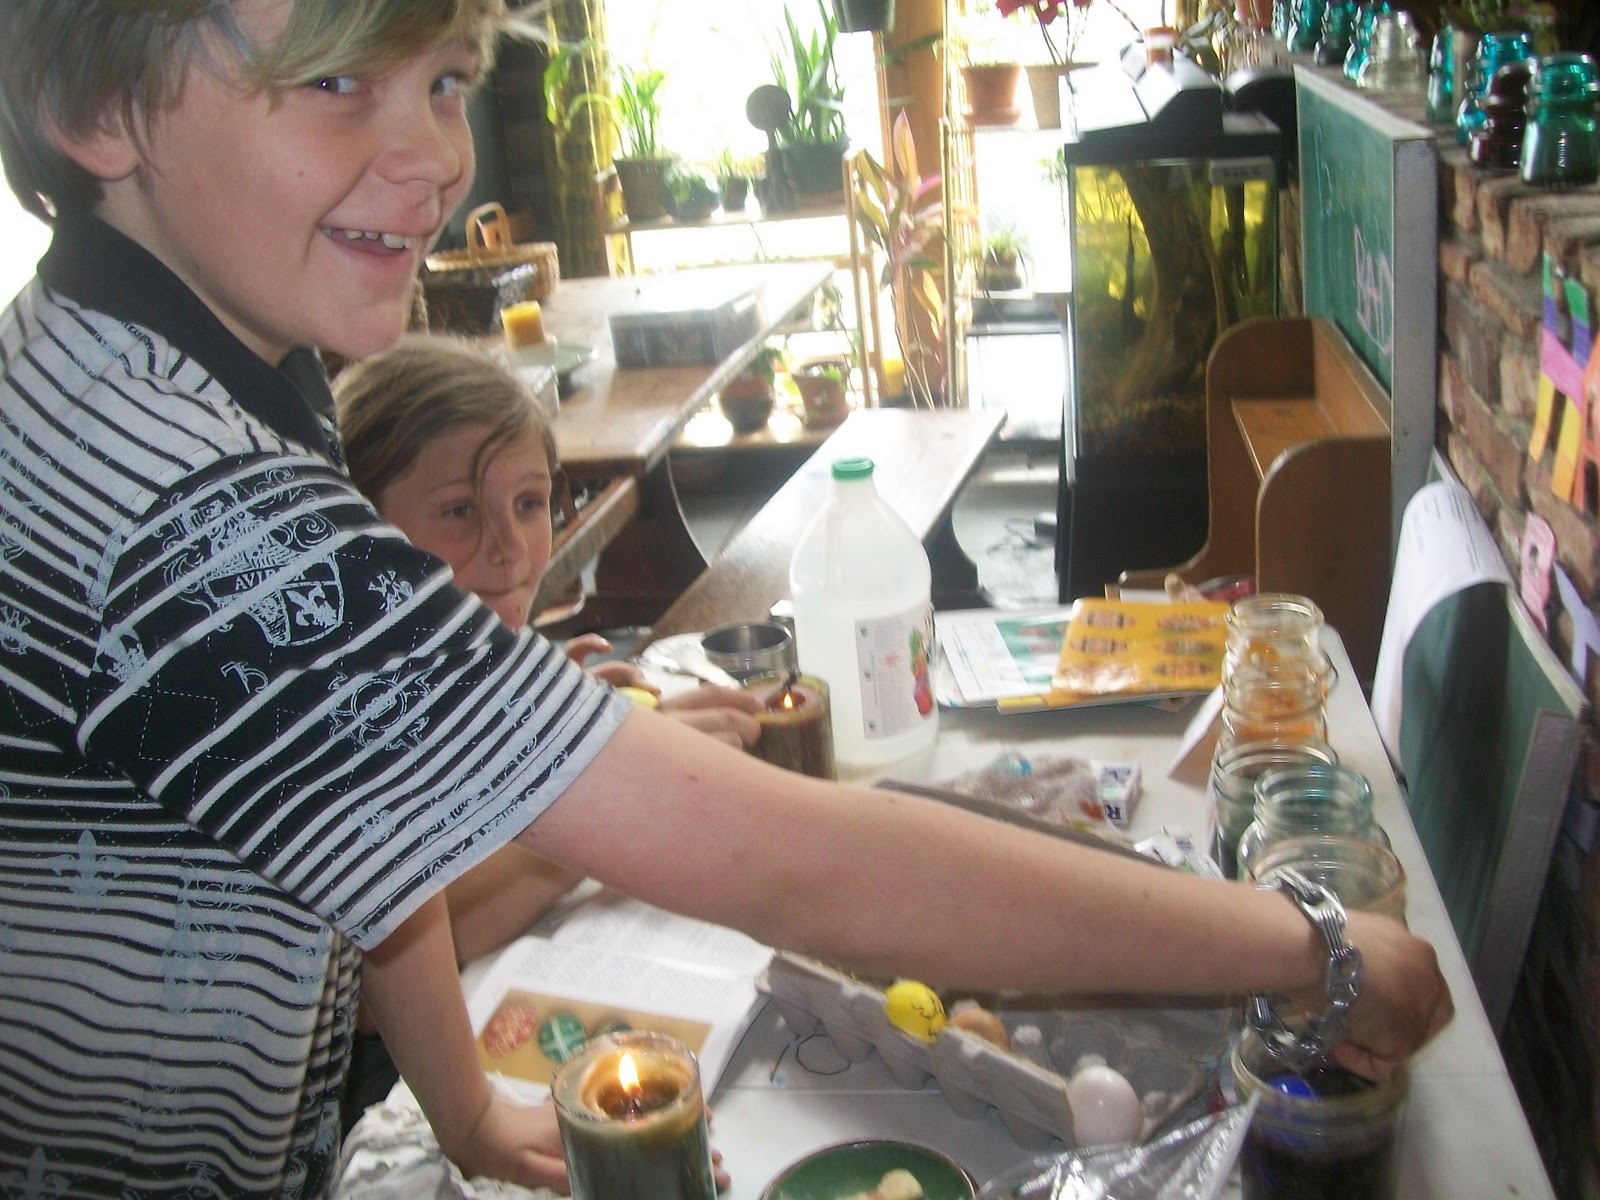
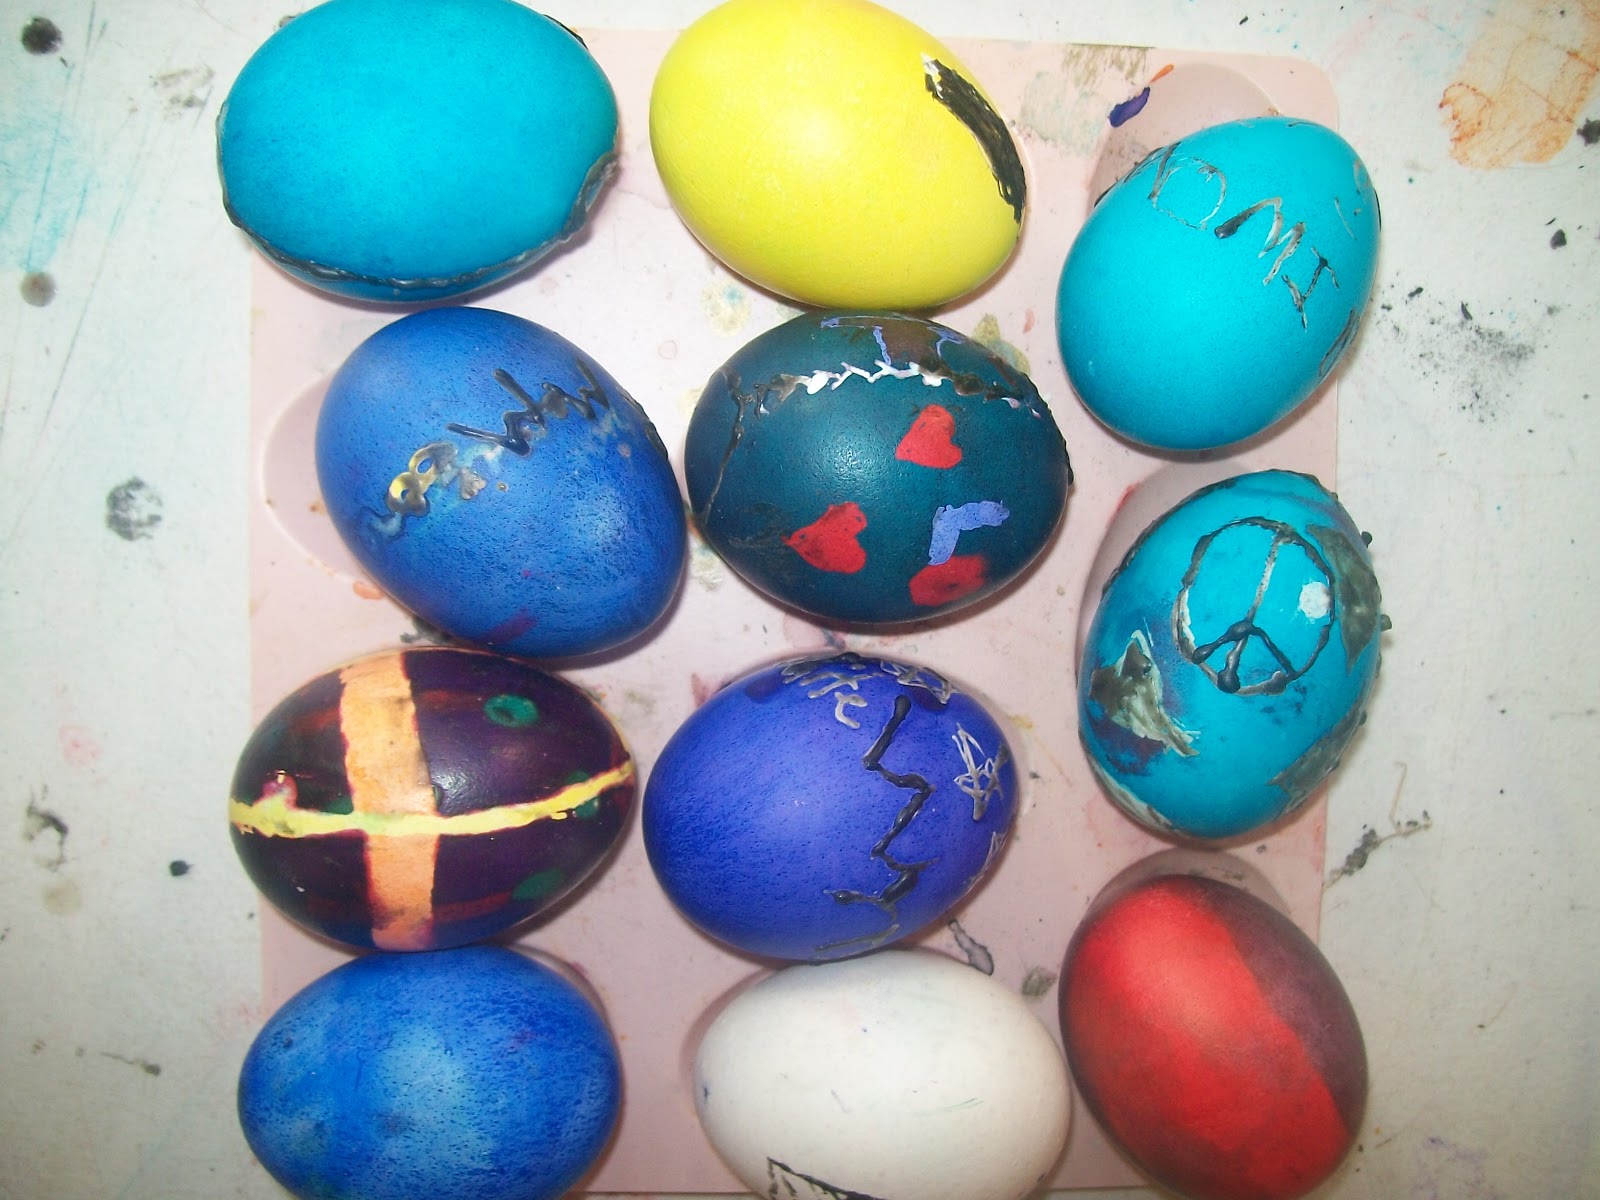
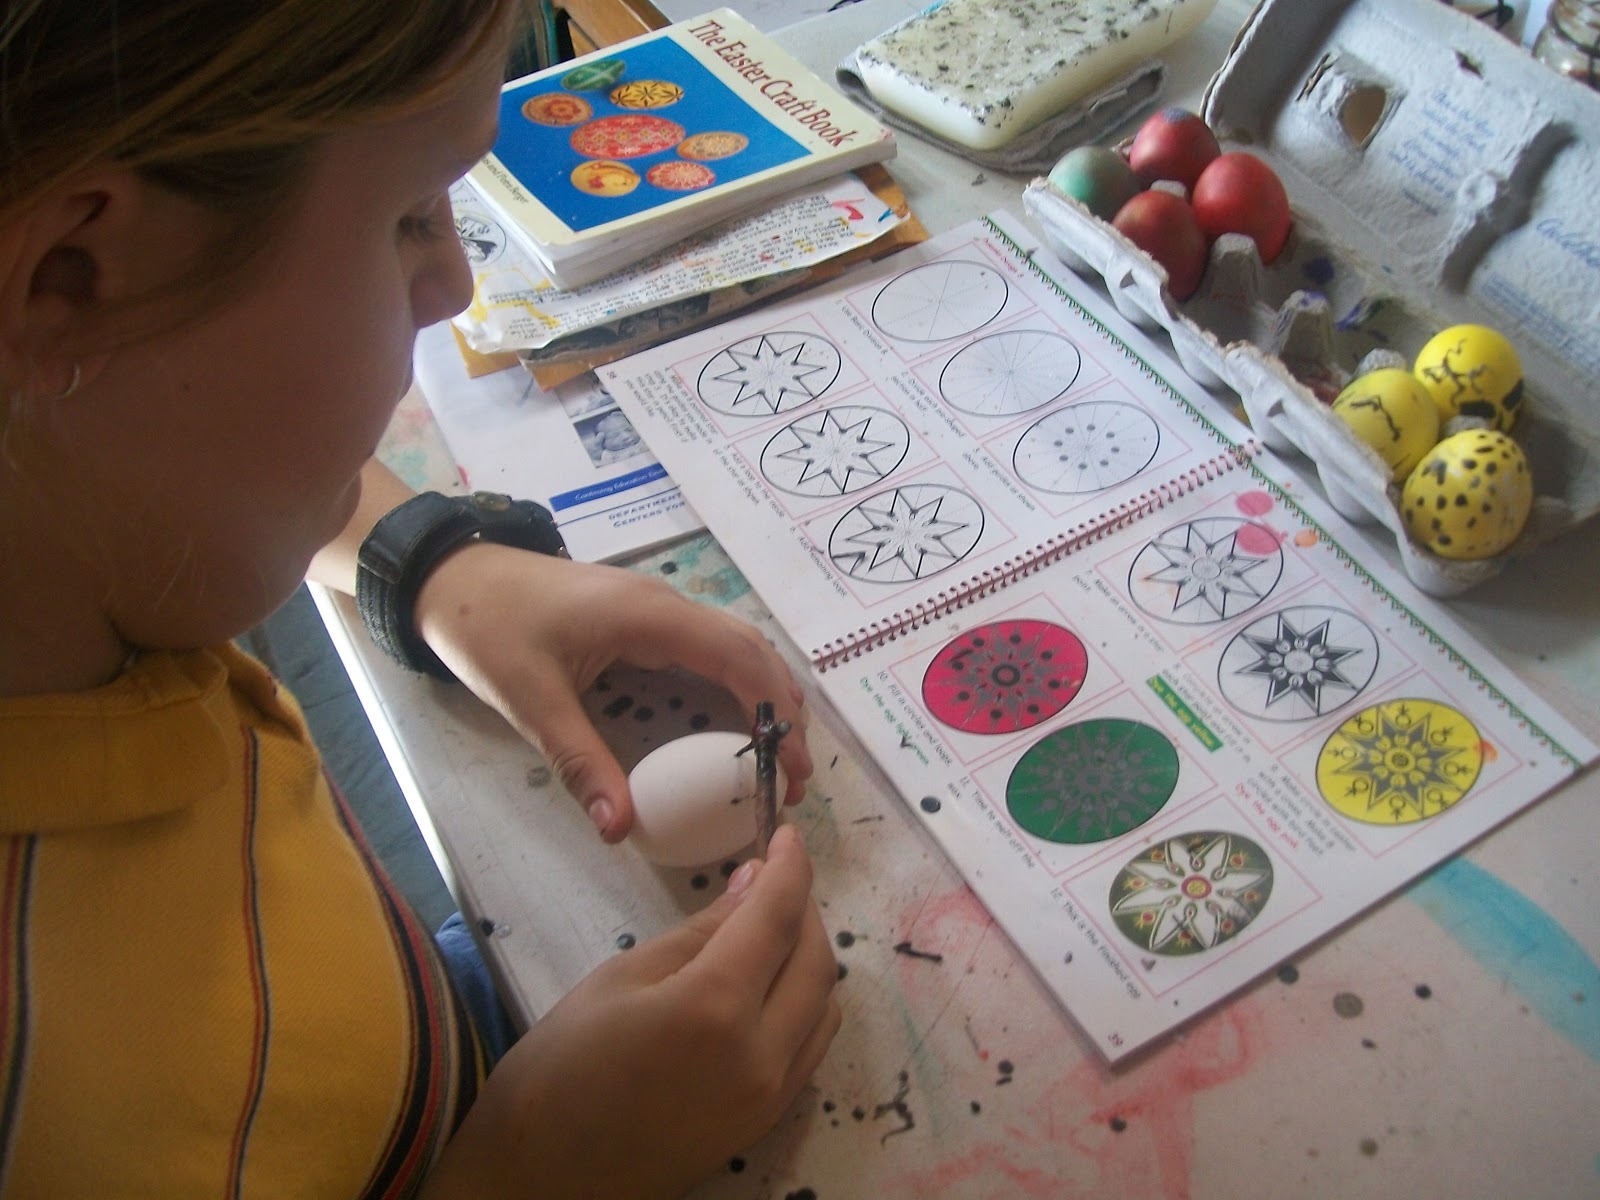
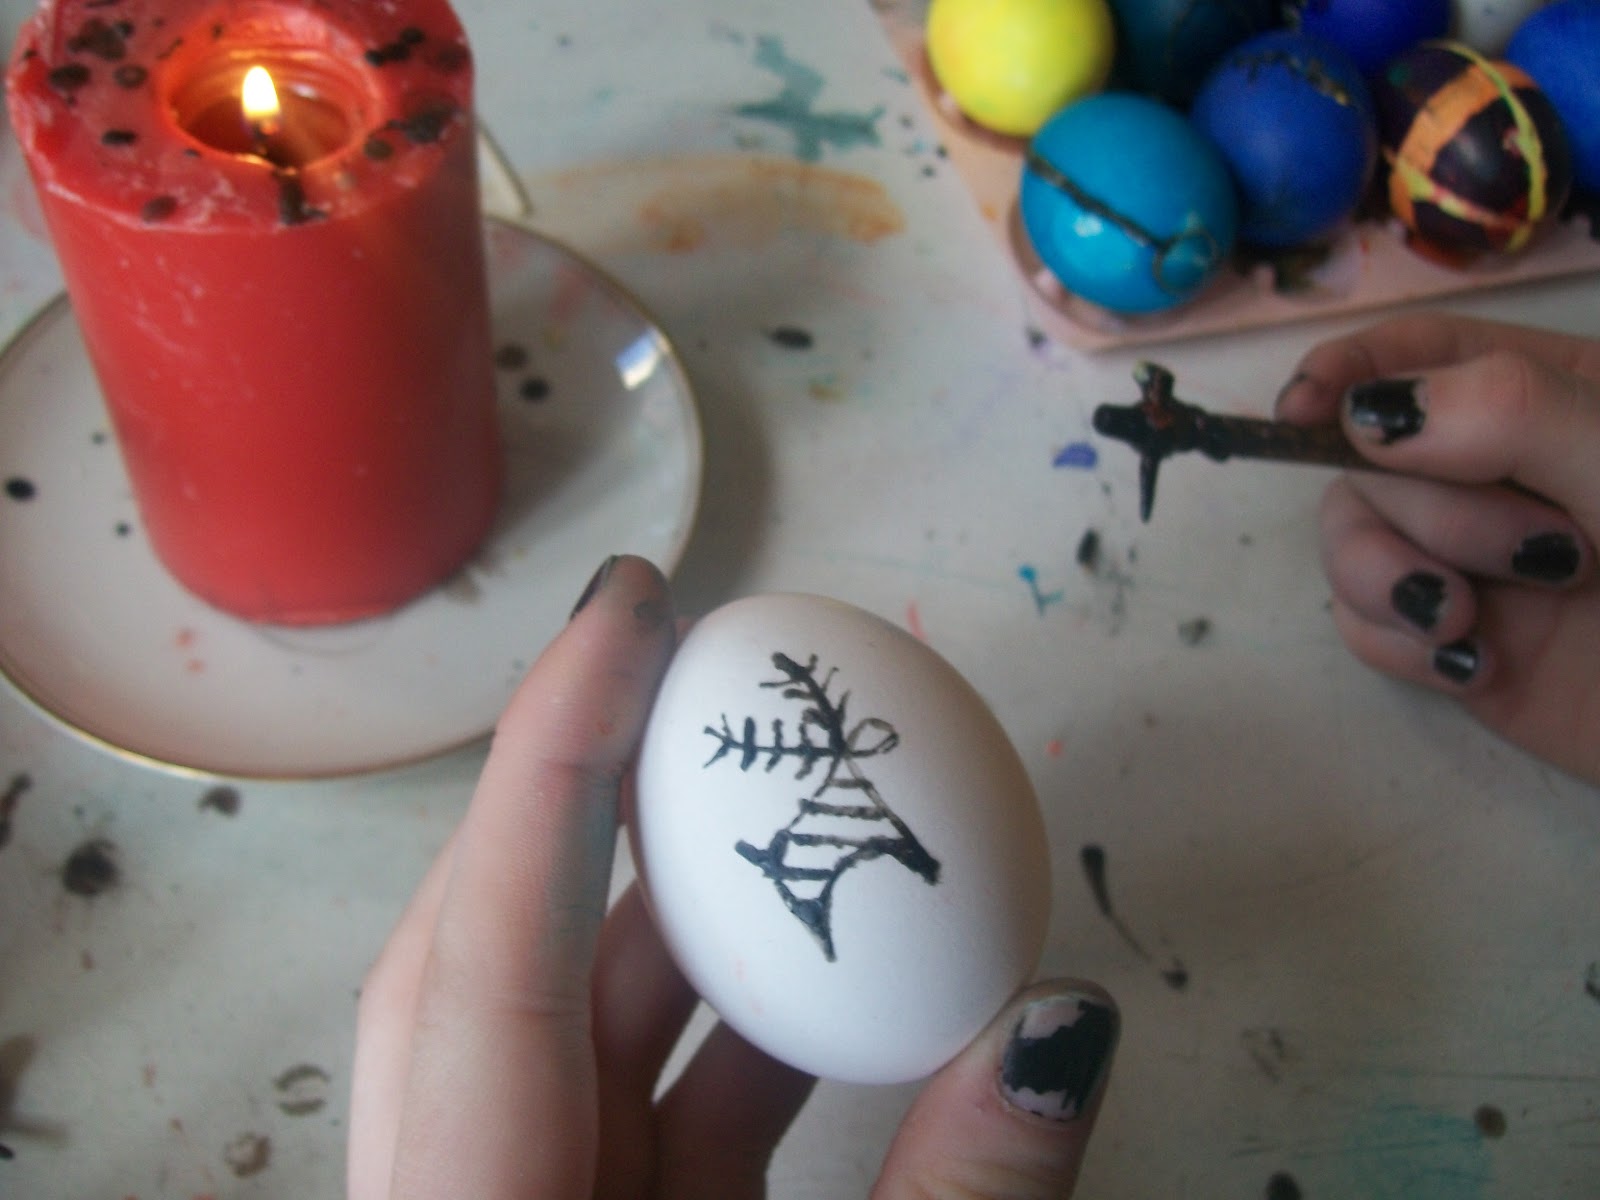
Apply wax: Start with an egg, and let it get to room temperature. If it is too cold, the wax won’t stick. You then light your candle and warm your kistka in its flame. Then scoop a bit of wax and hold it near the candle until the wax is melted. Begin to draw your design. You can draw something as simple as a spiral, or your name. Or you can make something complex and colorful. Covering everything you want white in wax. My wax draws on black because, I think, I use an old kistka and the wax has been scorched like a campfire roasted marshmallow. Your wax might go on clear or yellow.
Dye Bath: Put the waxed egg into the next color needed, most often yellow. After a while (15 minutes to overnight), remove the egg from its dye bath and repeat the wax process, color by color.
Green isn’t applied as a bath, rather it is applied only to the areas desired with a Q-tip. Green is the only color this is done with. My green sucked this year, as I used old RIT dye instead of pysanky dye.
Now more wax. Then orange.
Then blue, purple, black.
By now your egg is a black waxy mess.
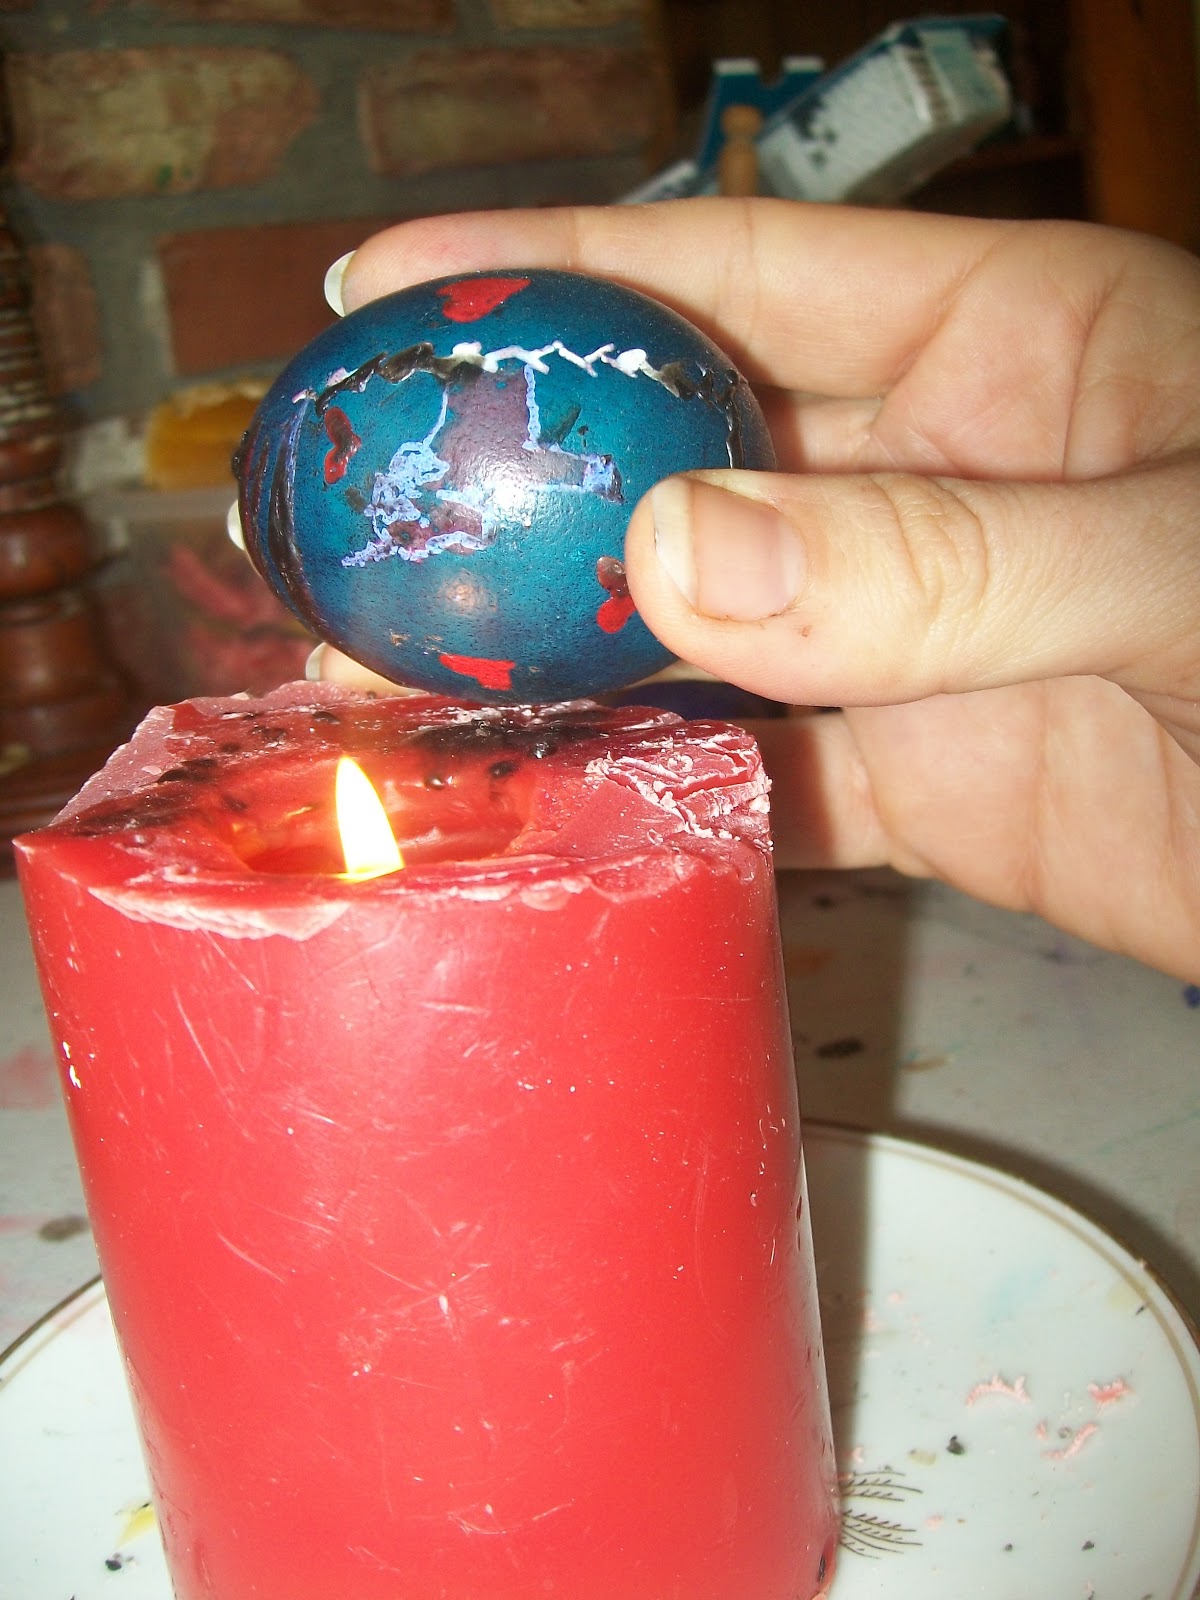
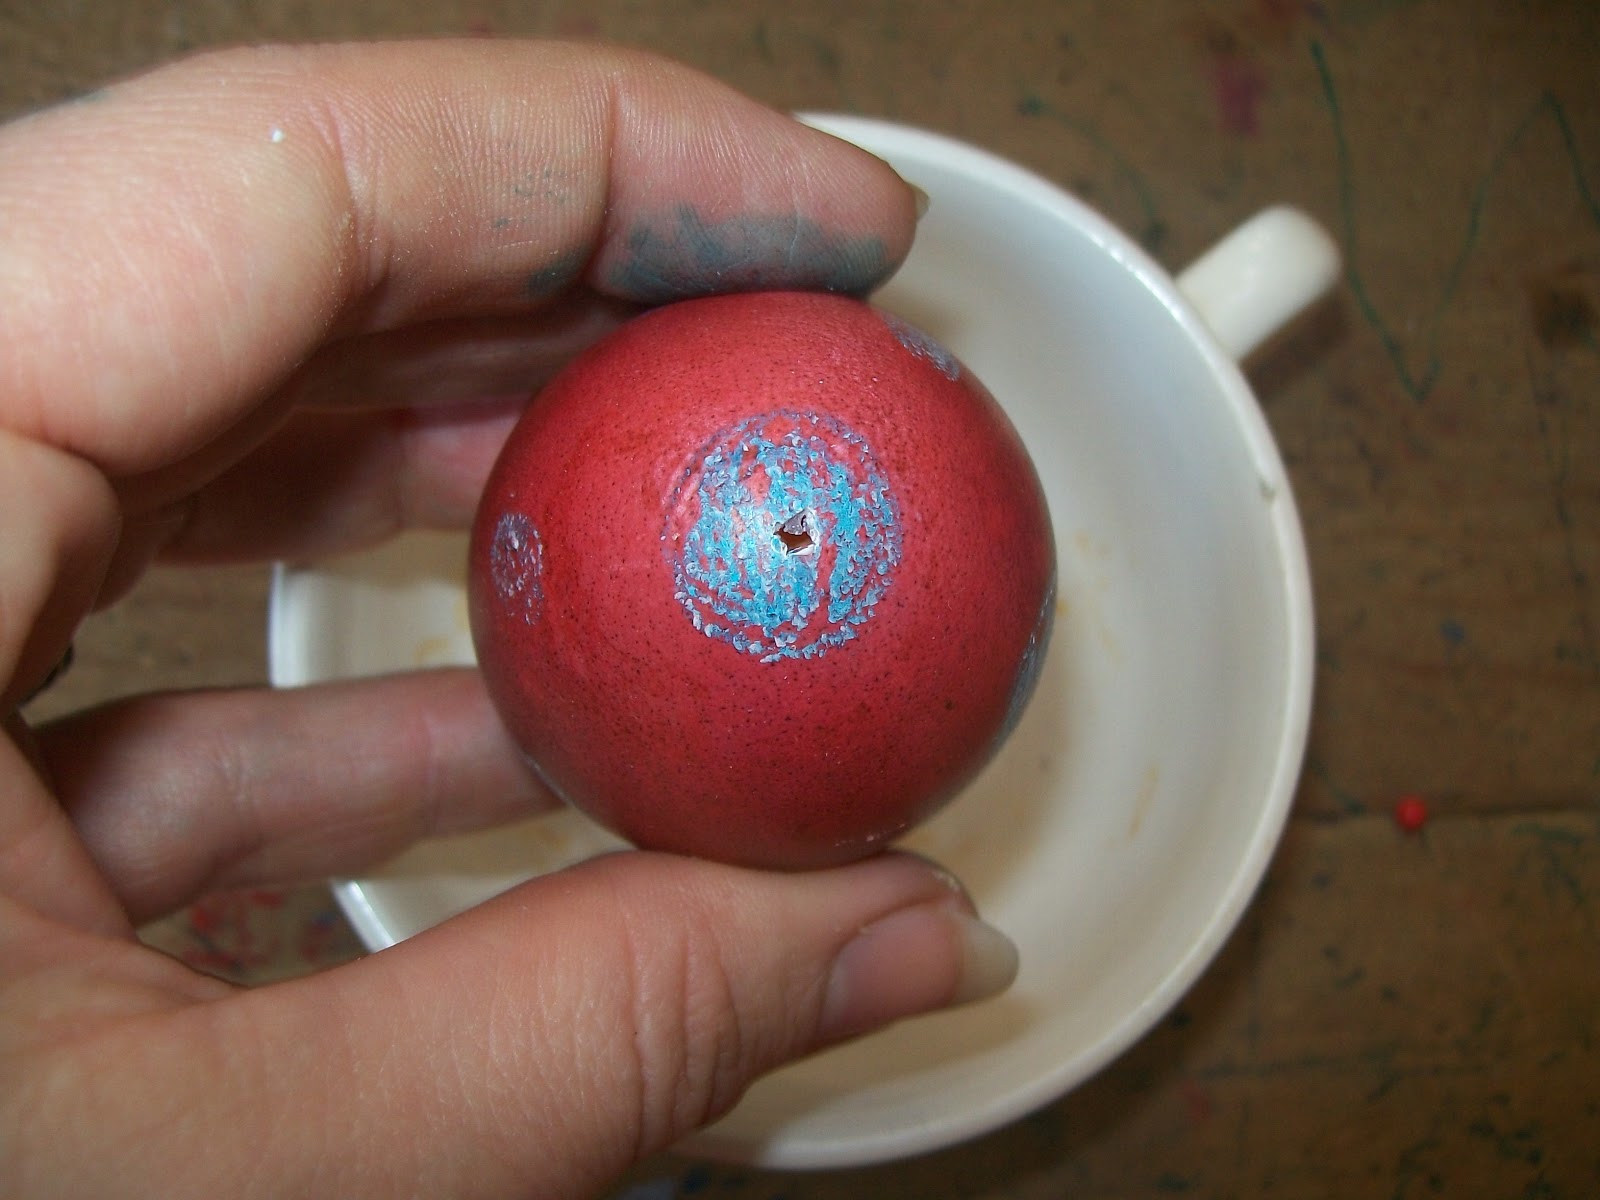
Remove wax: Take your waxed and dyed egg and hold it near the flame. Do not put it directly in the flame because it will get scorched and ruined! As the wax melts, carefully use a rag or tissue to wipe of the melted wax, revealing its colorful brilliance! And be careful! Flames are dangerous! AND this is the point at which many eggs break. I pay my children one dollar if I break an egg they’ve been working on.
You can also melt the wax off in an oven. (Instructions below) But you’ll need to blow it out first if you want to hang it.
Blowing out your egg: This is another risky egg breaking endeavor. We rarely blow our eggs, rather choosing the traditional method of leaving them intact. Give them away as gifts as soon as possible. You’ll feel good about it, and won’t be responsible for their destruction.
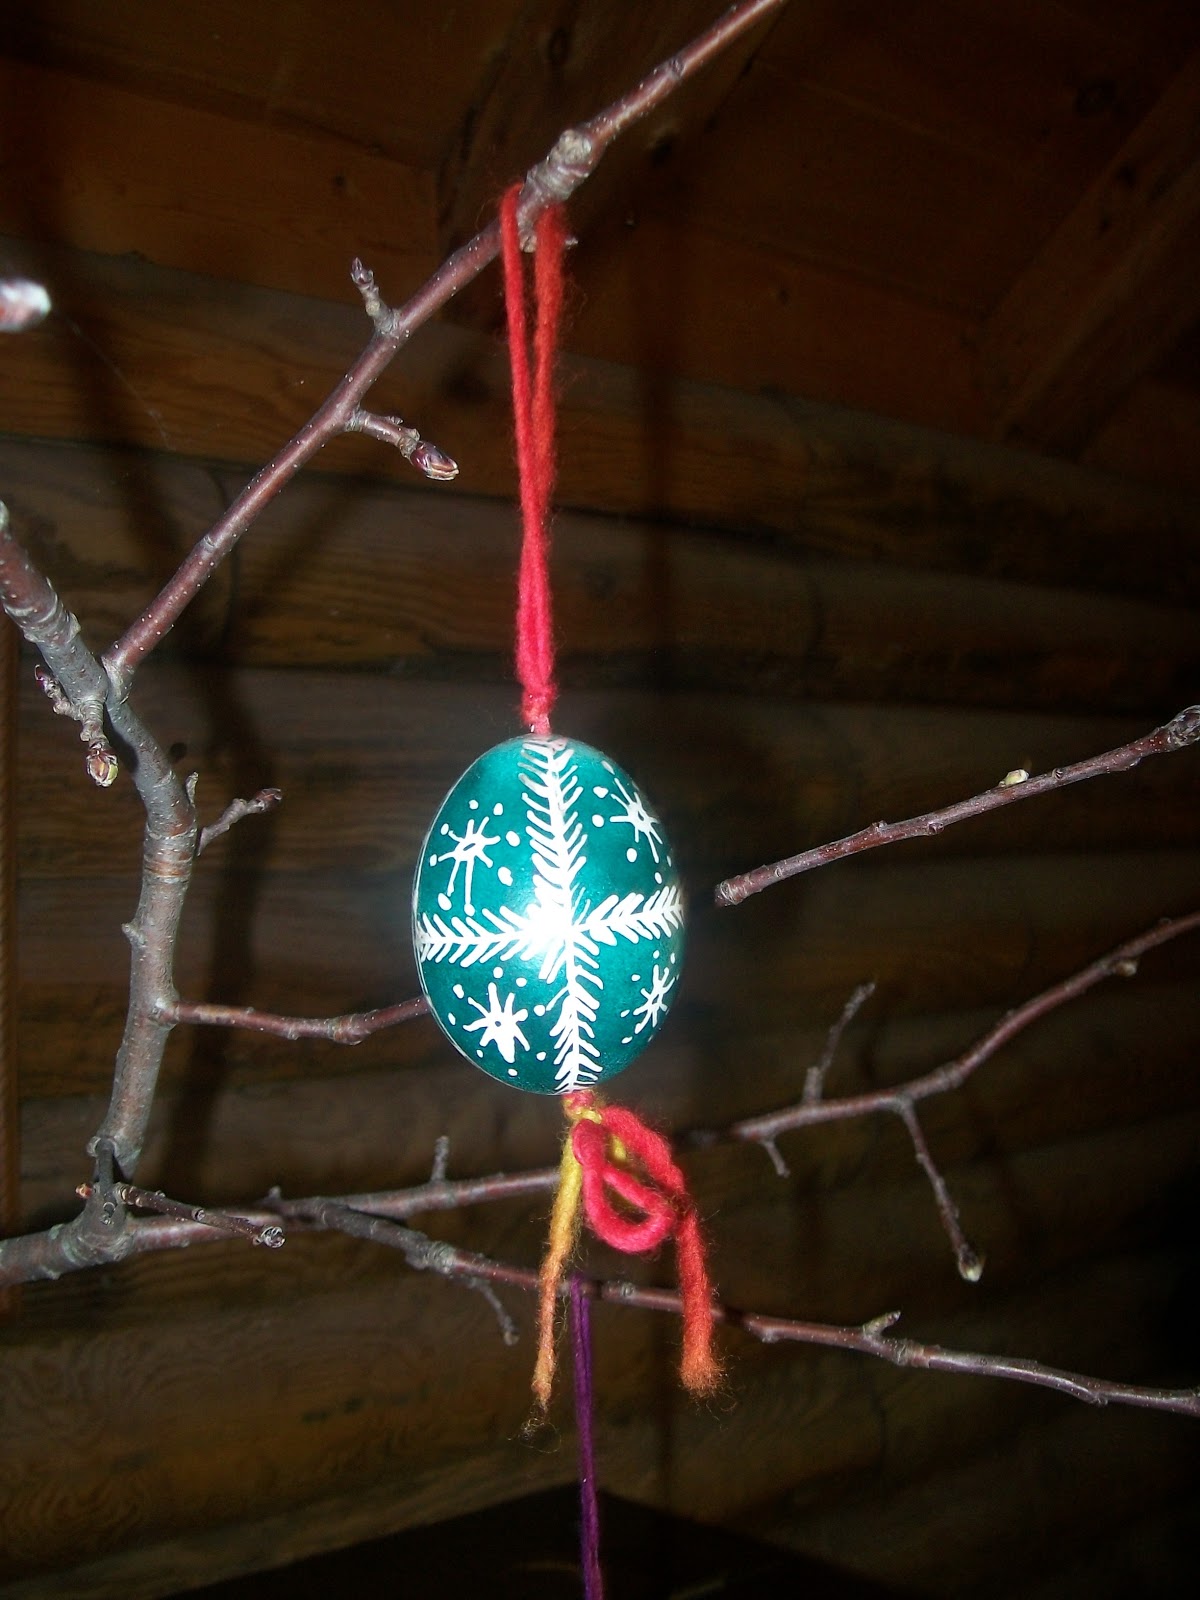
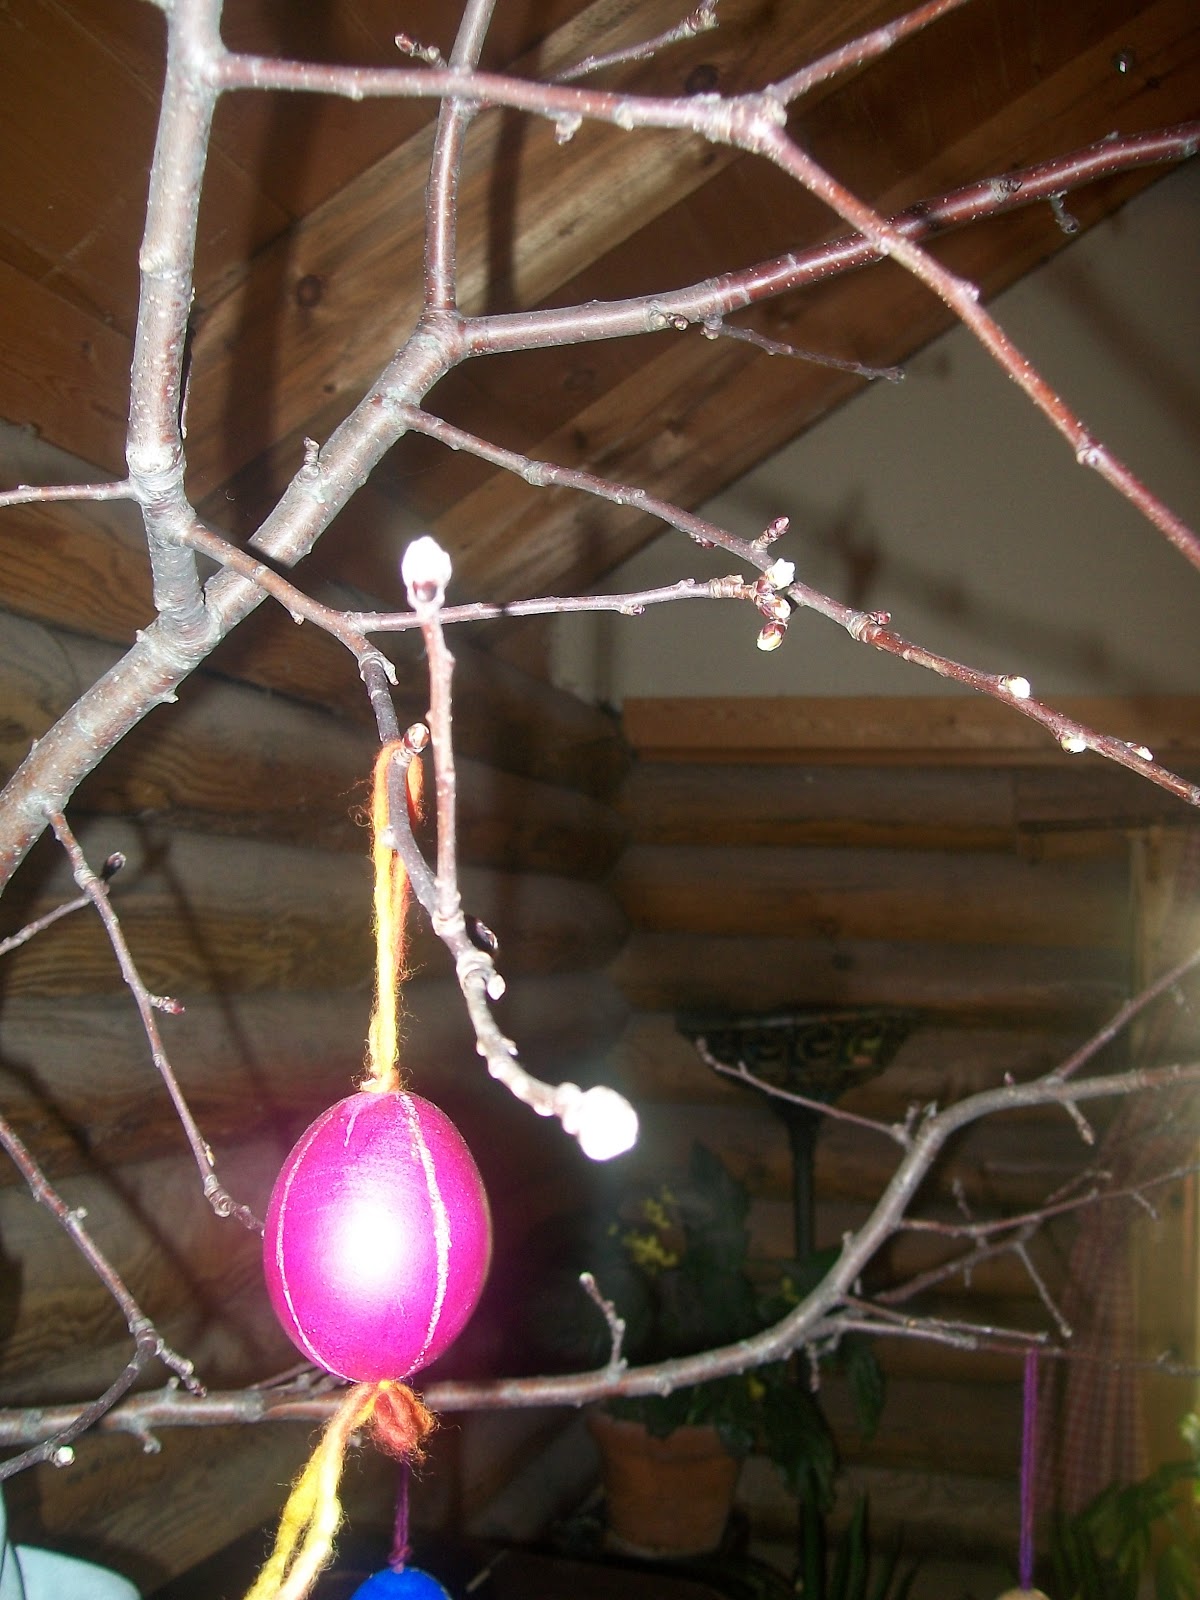
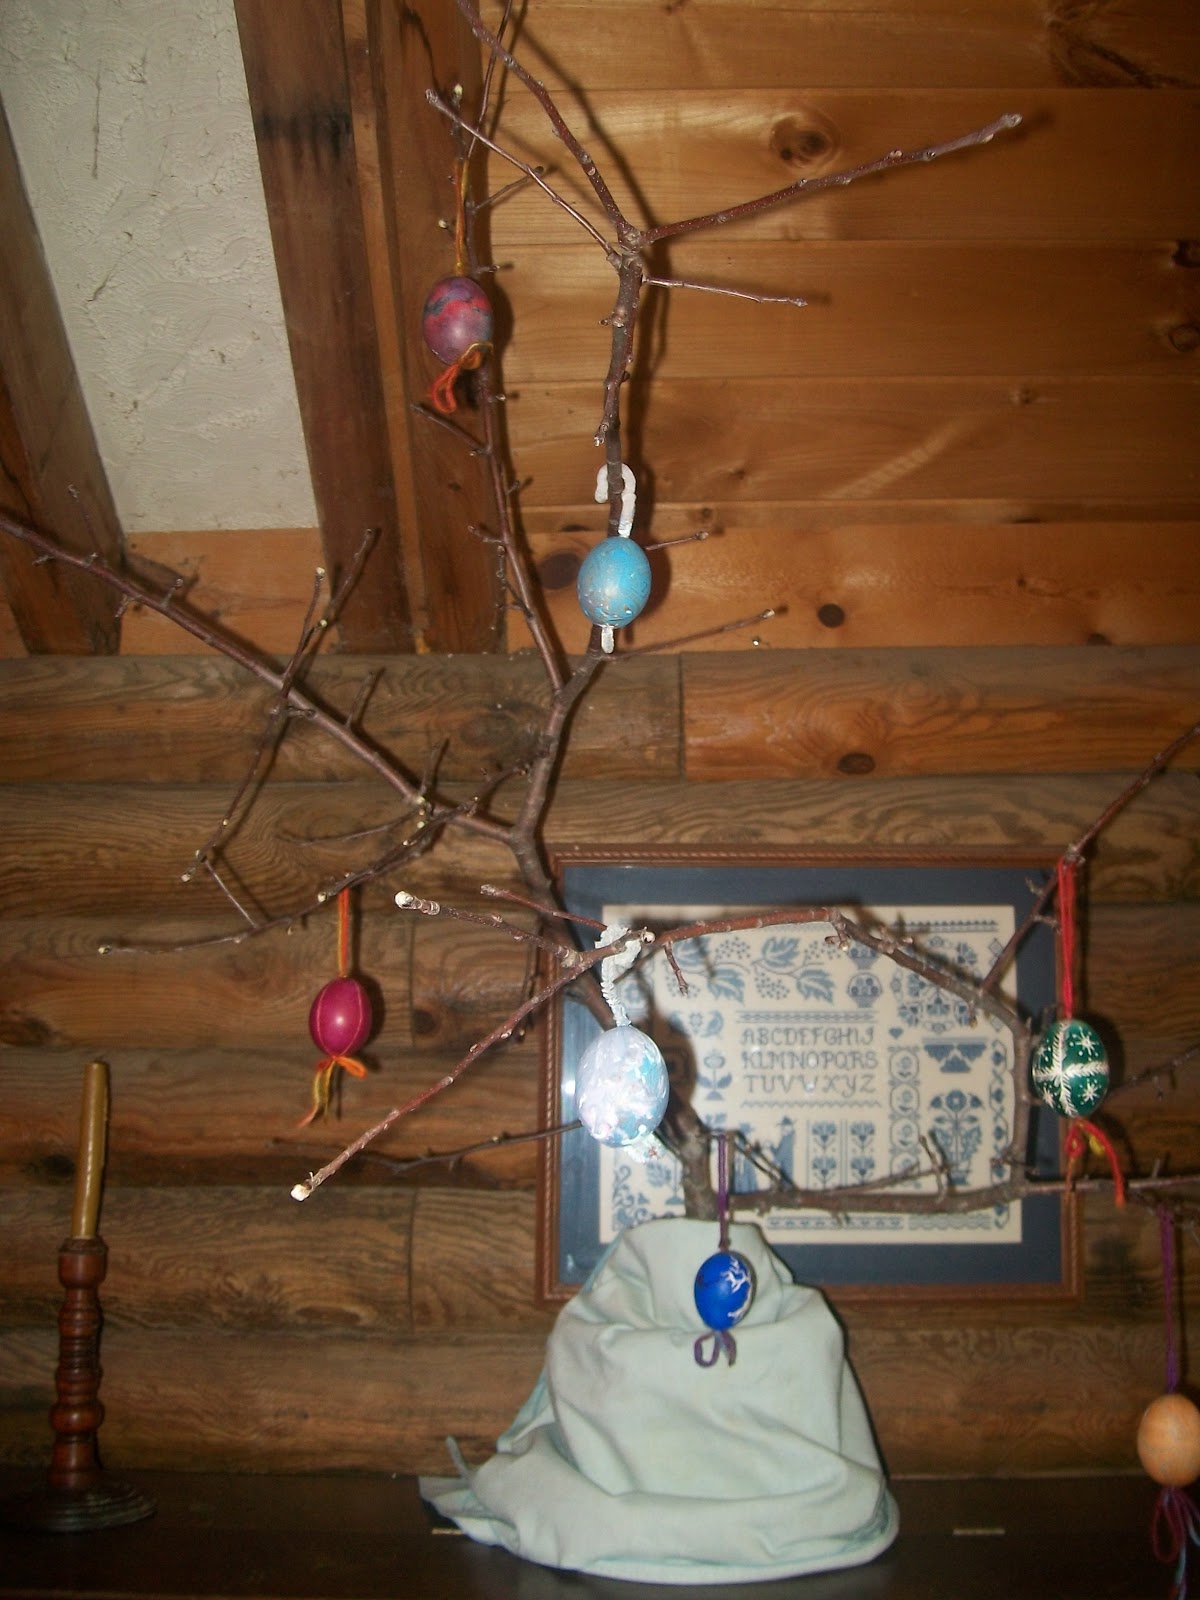
But if you blow them out, you can thread them and hang them on your Ostara branch. Here’s my method. Be careful!
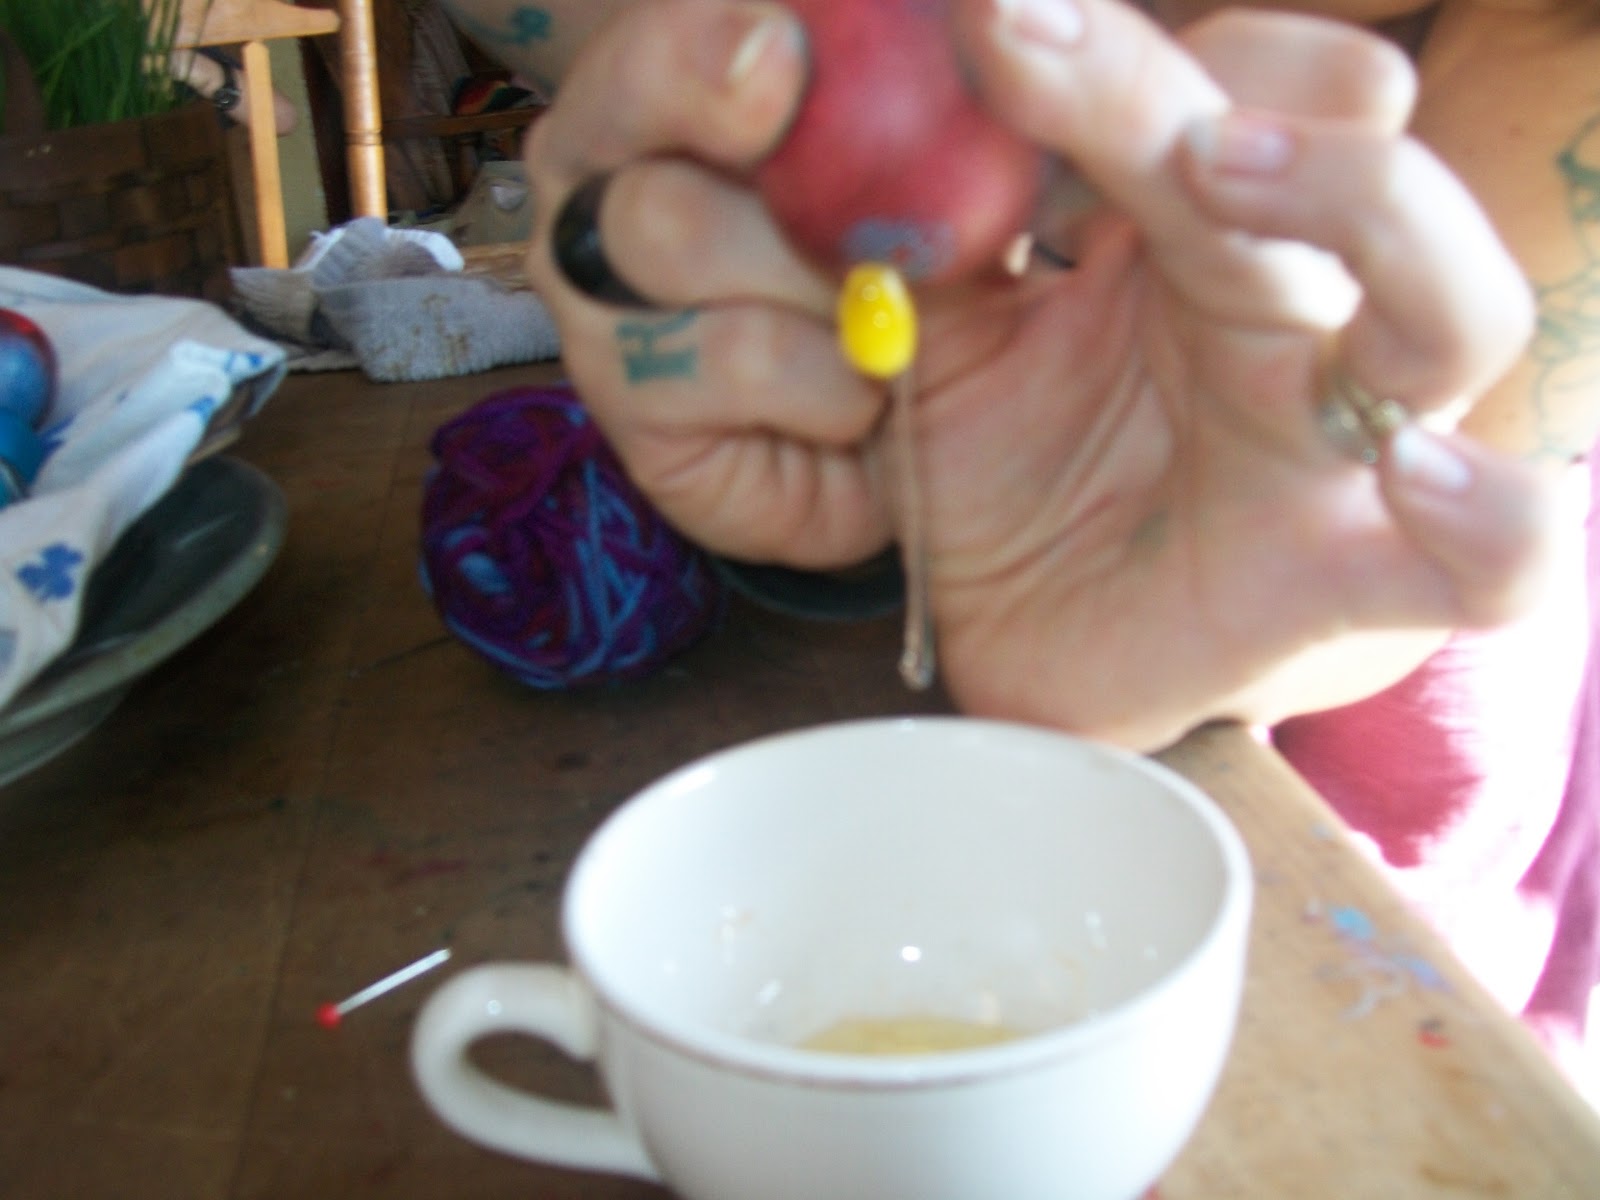
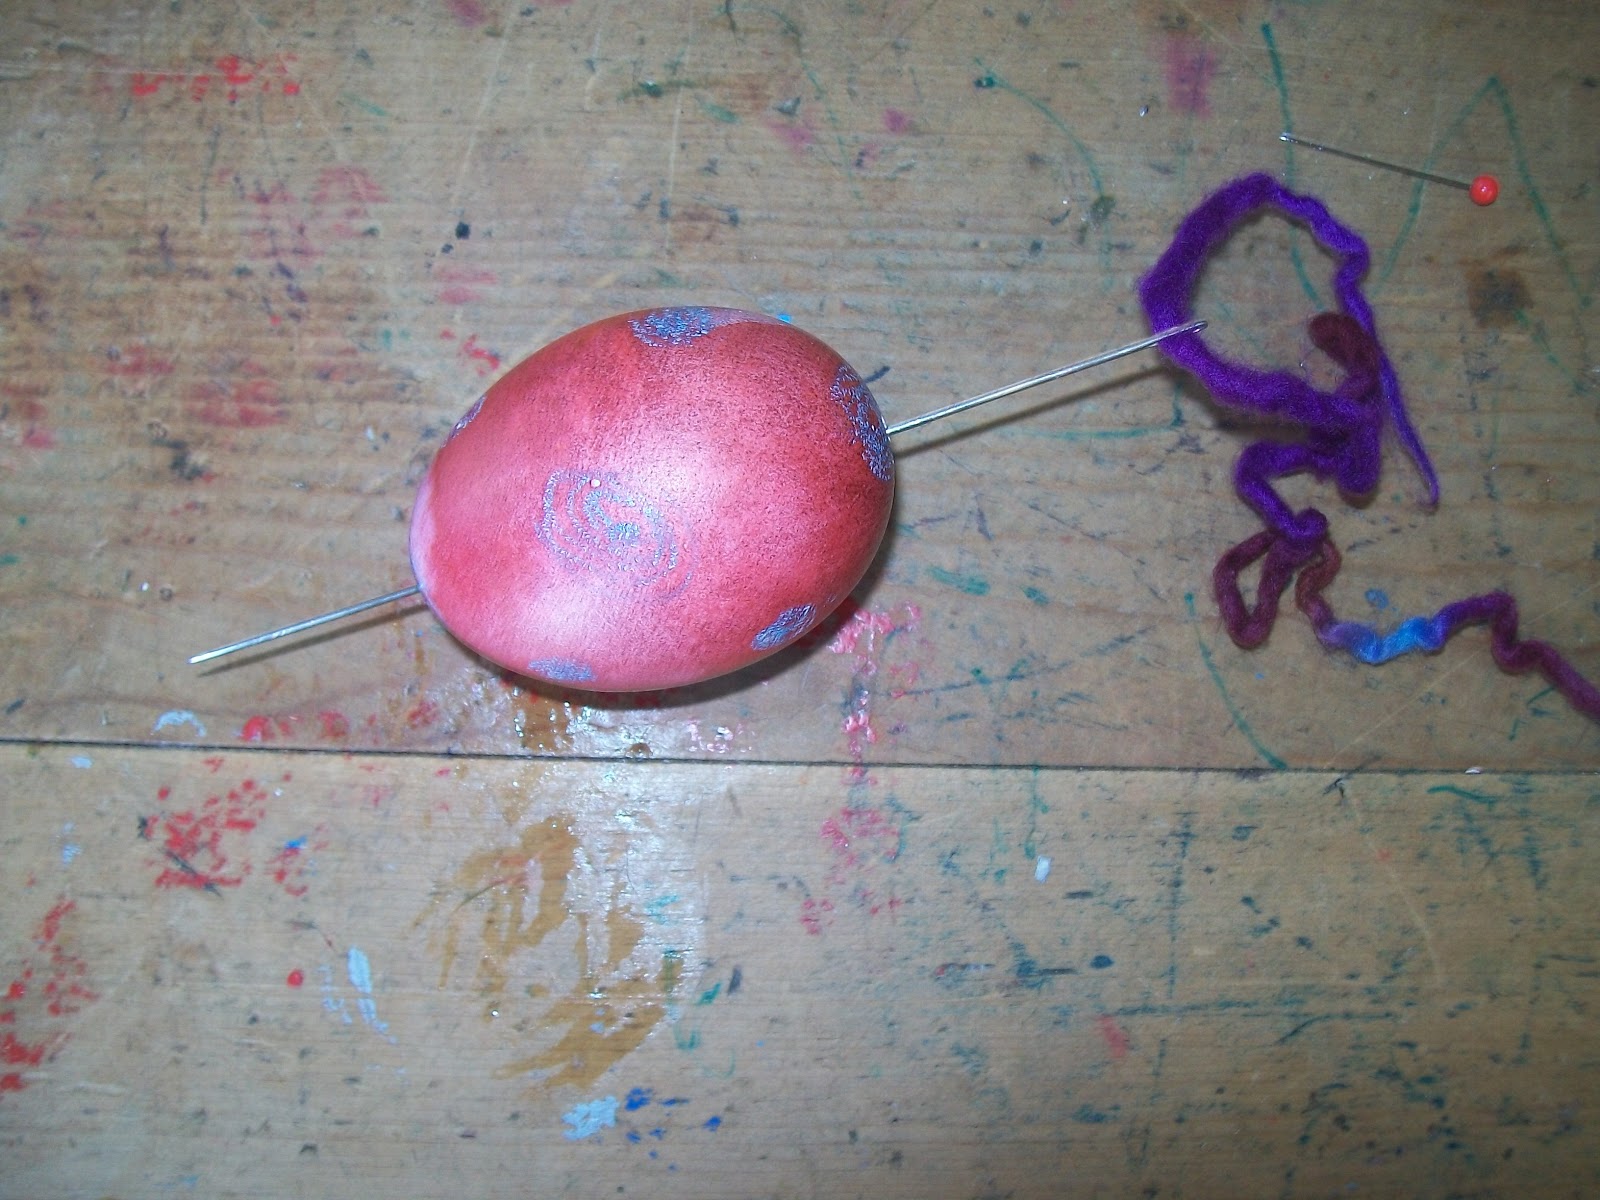
Use a straight pin and carefully poke a hole in the top of the egg. Then turn the egg over and poke a few tiny hole in the bottom of the egg, essentially scoring out a small circle. Turn the egg back to small side up and blow, gently but firmly, the egg contents into bowl. The technique takes some practice, so you might want to try this on a few less dear eggs.
 |
| Imagine me above the egg making a face like a trumpet player. |
Then you can string your eggs. This year I used a doll making needle and some Malabrigo wool, but ribbon is lovely, and bead work would be beautiful!
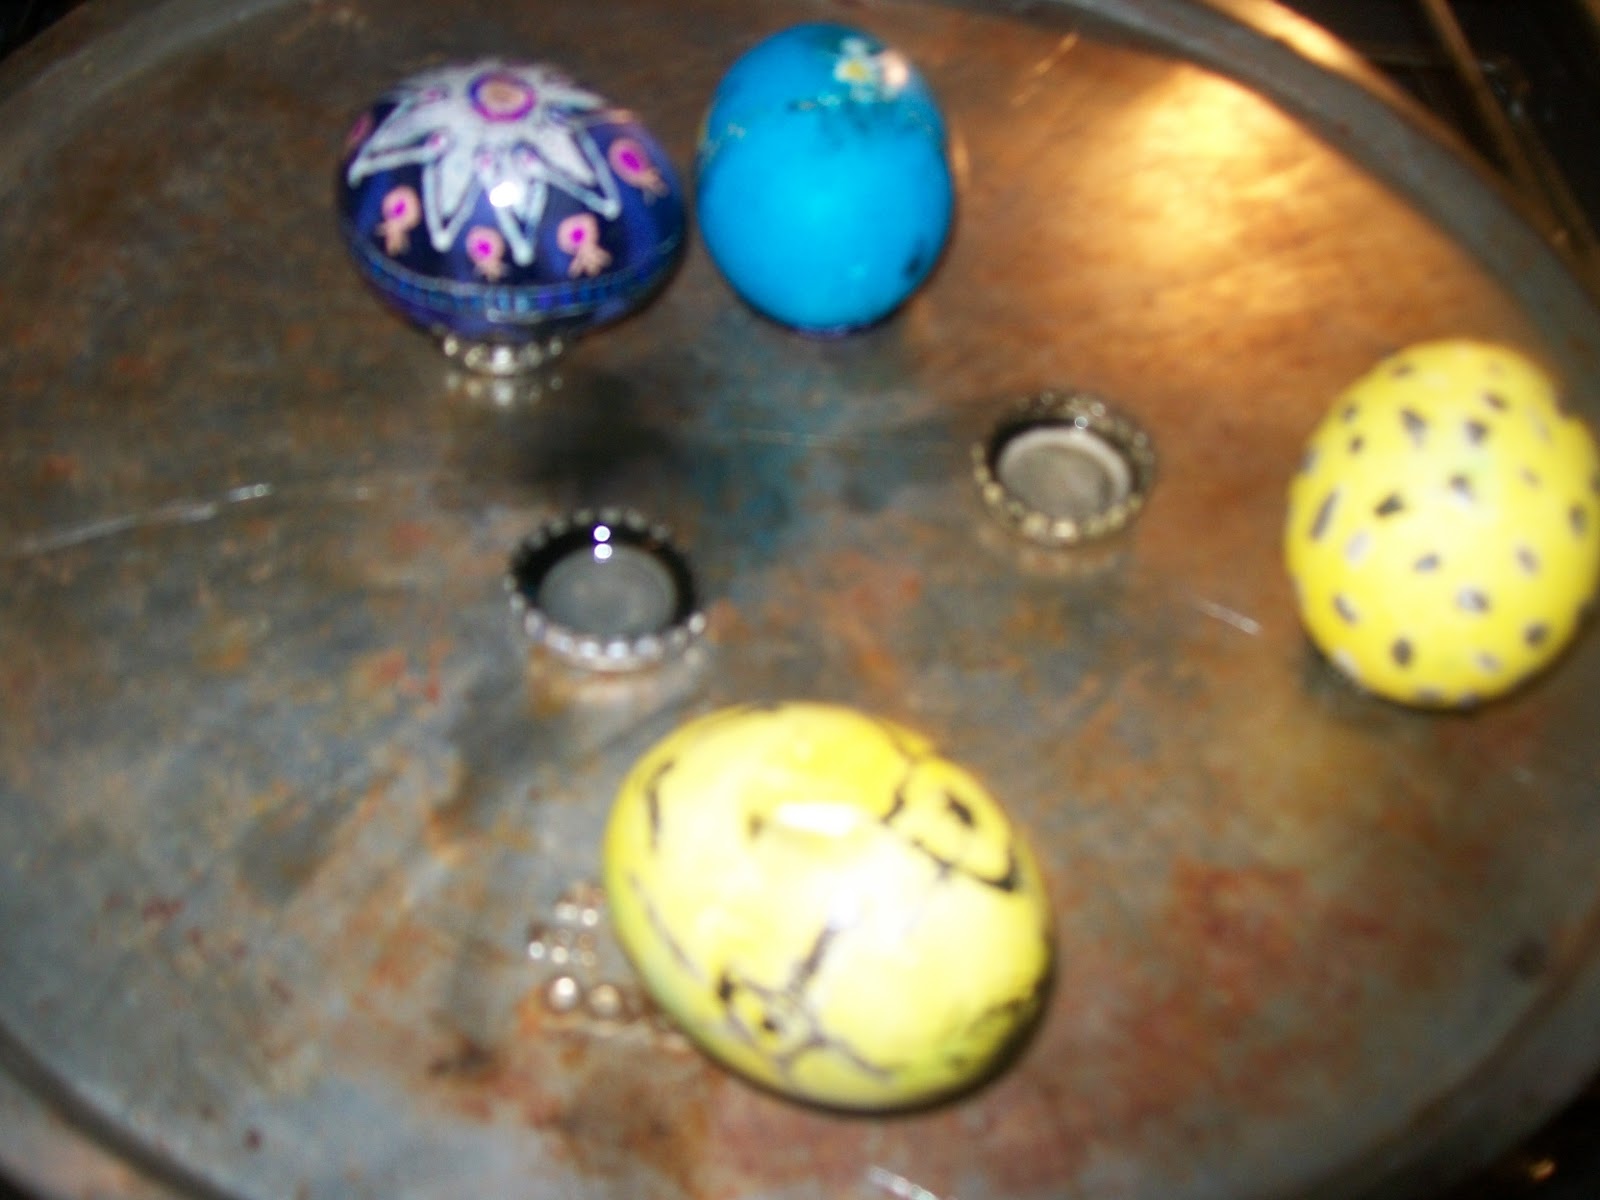
You can also melt the wax off in an oven. I have been making pysanky for over 20 years, and have never before tried this method. Use a regular oven @ 250 deg F. I balanced the eggs on beer caps on an old pizza sheet. It worked great, but you need to blow out your eggs BEFORE you bake them. Also, I found some of the magic of slowly revealing your design was lost.
Watch for the wax to soften, then remove carefully and wipe off with a soft cloth or paper towel.
Varnish: Whether or not you’ve blown your egg, the final step is to apply varnish. It makes the eggs very shiny and fancy! Spray several thin layers of an oil based varnish.
Christopher got home from Paganicon late last night, and look what he brought me. A shiny new kistka and natural dyed eggs from Steven Posch!
Here are some websites you might enjoy for further study:
And more photos of our pysanky week:
How are you celebrating Spring?